


Alright, quick disclaimer: I’m not the architect in this project, I’m just the builder. My job? To follow the blueprint the lecturer gave me.
Introduction
This project involves developing an Android-based Wedding Planner Checklist app aimed at simplifying wedding preparations. The app helps couples efficiently manage tasks, details, and timelines, ensuring a smooth planning experience. Built using Android Studio, it includes a user-friendly interface and a database to store key information. The goal is to create an intuitive app that minimizes effort for users while keeping wedding planning on track.
Application Features
- View the list of tasks for each time period
- Add tasks to the list
- Edit task from the list
- Remove task from the list
- Able to tick the completed task
Print Screen
1. Home and Time Period Checklist Pages
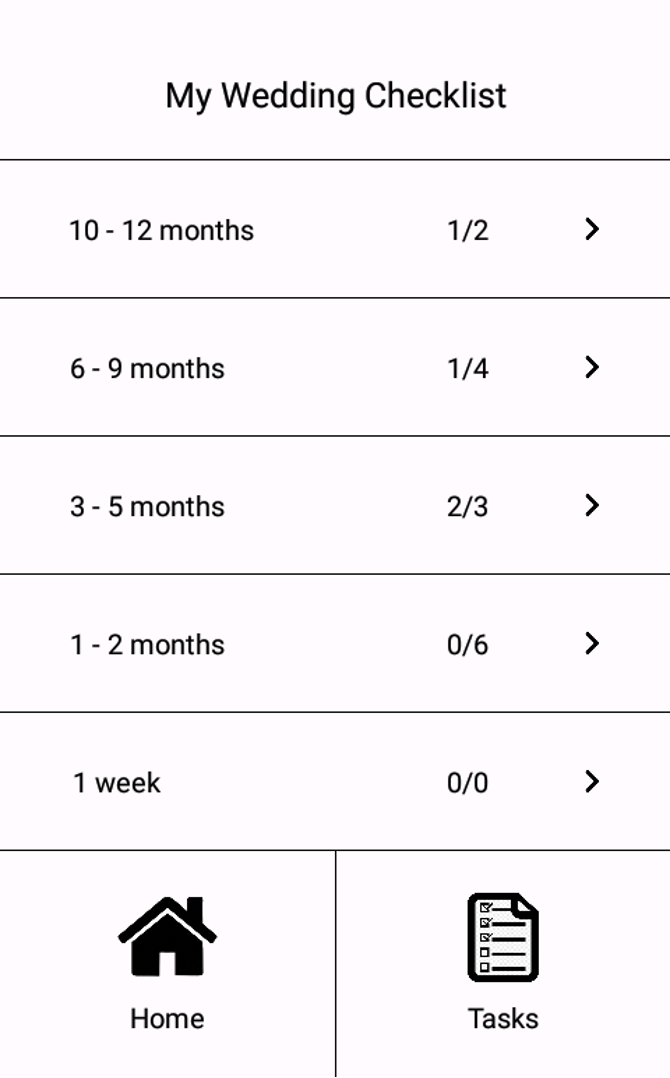
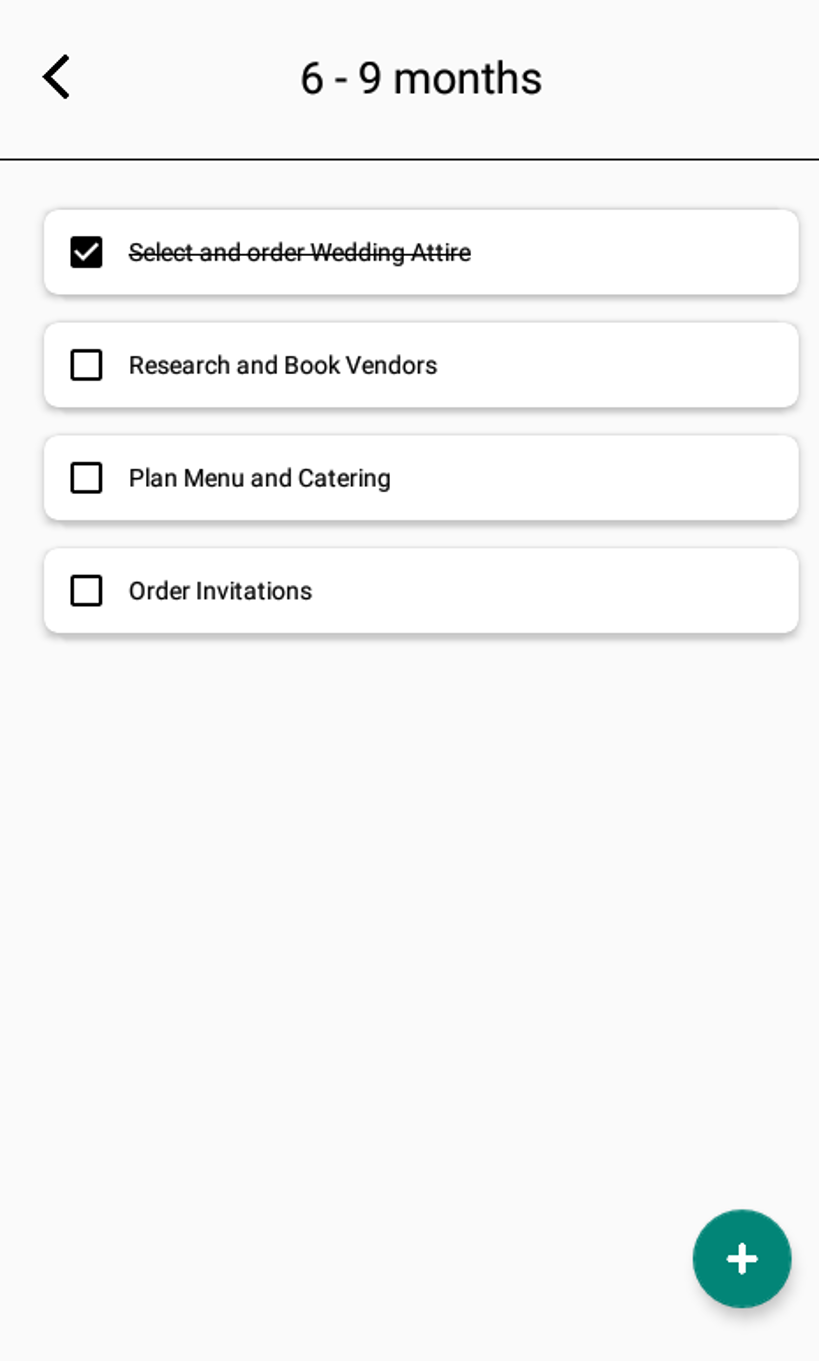
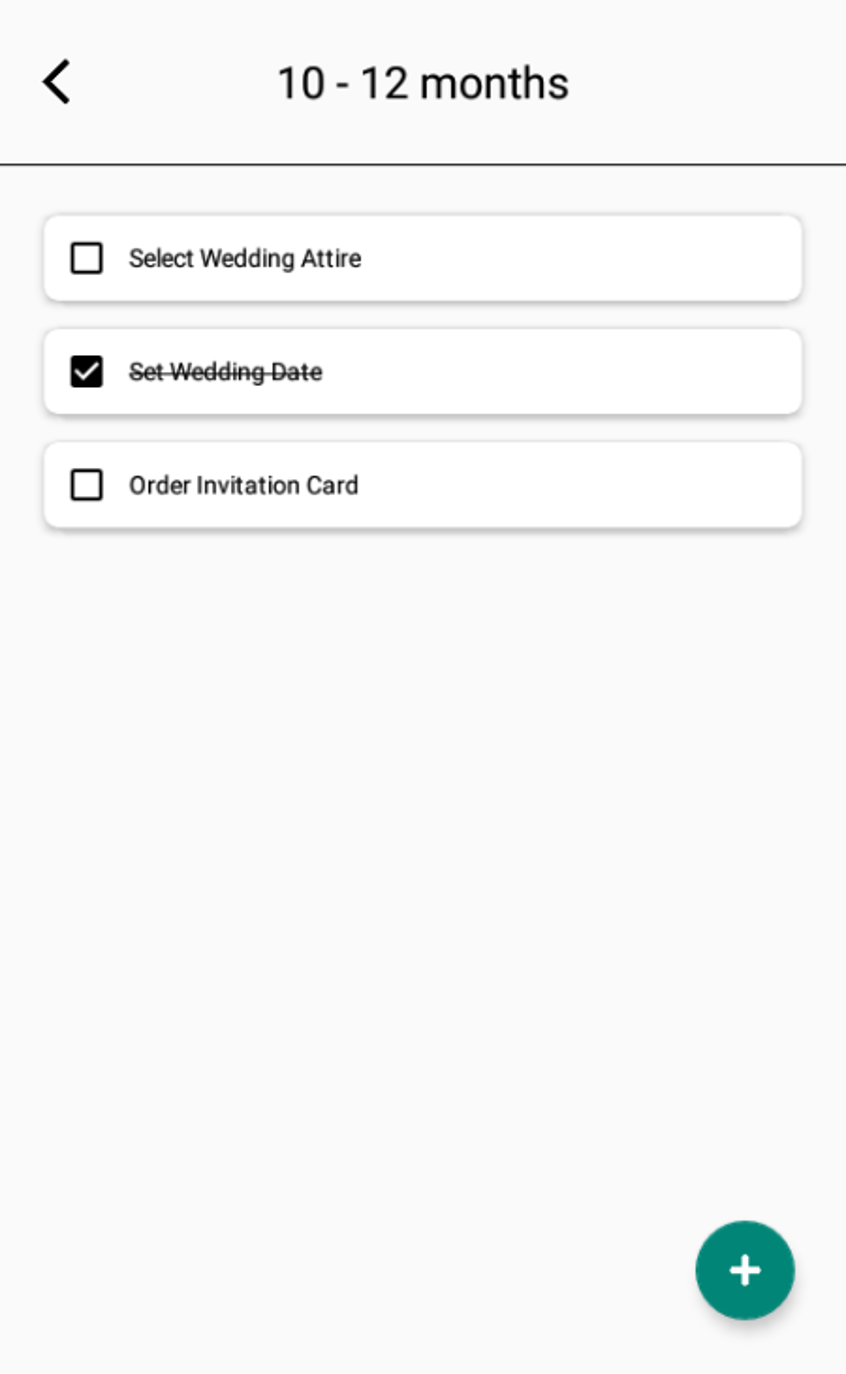
This shows a task list sorted by time period. Users can click the right arrow to expand sections and see more tasks for a full wedding planning overview. A handy menu bar lets you switch between the home page and task page. Tasks are grouped by month, and completed ones get a strikethrough. Plus, there’s a button to add new tasks.
public void onBindViewHolder(ViewHolder holder, int position) {
    db.openDatabase();
    ToDoModel2 item = todoList.get(position); //ganti

    // Set the task text
    holder.task.setText(item.getTask());

    // Check the status and update text appearance
    if (item.getStatus() == 1) {
        // Task is completed, apply strikethrough
        holder.task.setPaintFlags(holder.task.getPaintFlags() | Paint.STRIKE_THRU_TEXT_FLAG);
    } else {
        // Task is not completed, remove strikethrough
        holder.task.setPaintFlags(holder.task.getPaintFlags() & (~Paint.STRIKE_THRU_TEXT_FLAG));
    }

    holder.task.setChecked(toBoolean(item.getStatus()));
    holder.task.setOnCheckedChangeListener((buttonView, isChecked) -> {
        if (isChecked) {
            db.updateStatus(item.getId(), 1);
            holder.task.setPaintFlags(holder.task.getPaintFlags() | Paint.STRIKE_THRU_TEXT_FLAG);
        } else {
            db.updateStatus(item.getId(), 0);
            holder.task.setPaintFlags(holder.task.getPaintFlags() & (~Paint.STRIKE_THRU_TEXT_FLAG));
        }
    });
}
When a task is marked as complete , it gets a strikethrough. This is done by checking the task’s status and tweaking the of the task (which is a CheckBox). If it’s done, we add the to make it look crossed out. When the checkbox is ticked or unticked, the status of the task is updated in the database.
2. Add Task Page
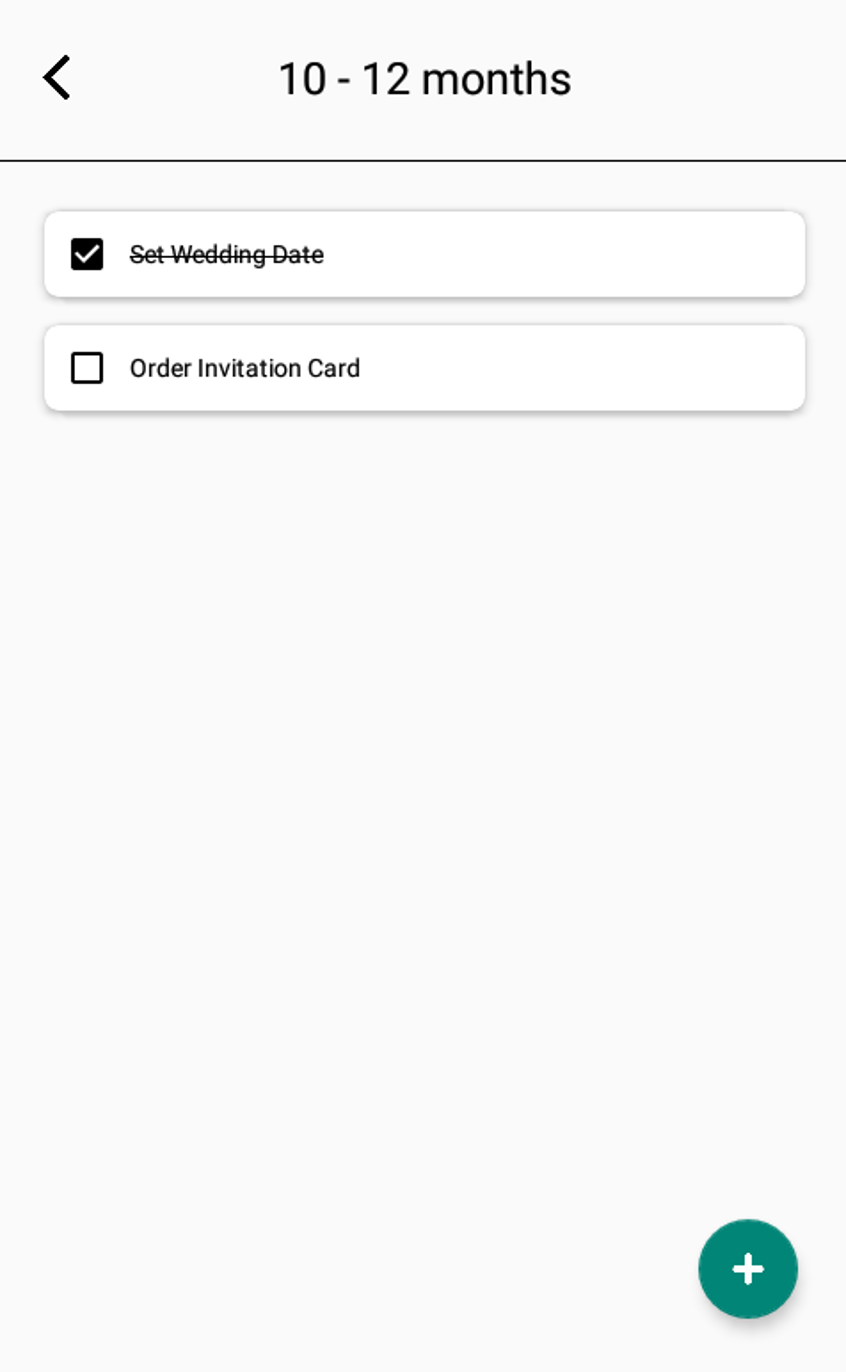
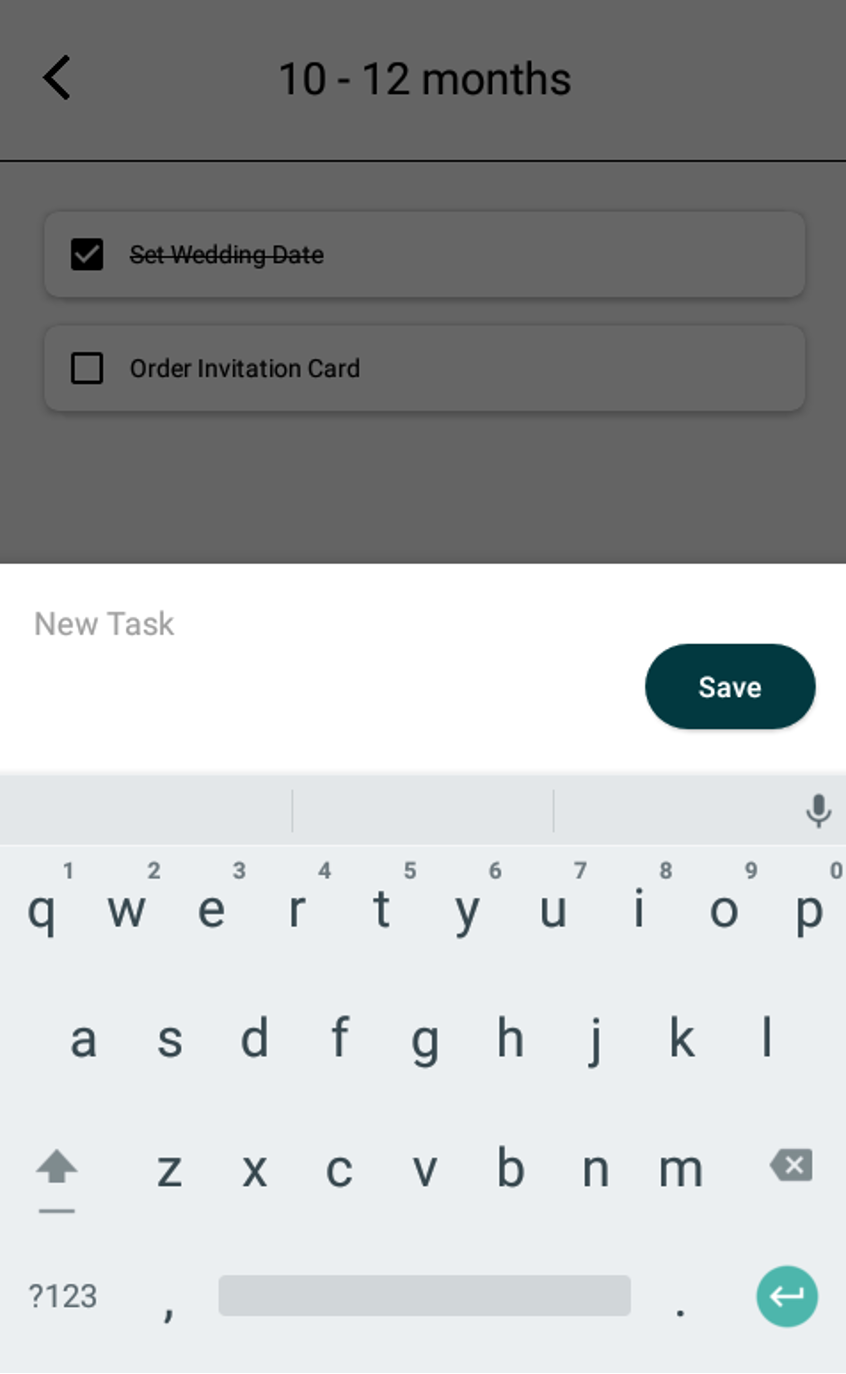
In the app, users can easily add new tasks by clicking the “Add” button at the bottom right. This brings up a field where they can quickly type and save the task. Once saved, the new task instantly appears on the screen, giving users a nice visual confirmation that it’s added to their wedding checklist.
public class AddNewTask2 extends DialogFragment {
    public static final String TAG = "AddNewTask2";

    public static AddNewTask2 newInstance() {
        return new AddNewTask2();
    }

    @Override
    public Dialog onCreateDialog(Bundle savedInstanceState) {
        AlertDialog.Builder builder = new AlertDialog.Builder(getActivity());
        LayoutInflater inflater = getActivity().getLayoutInflater();
        View view = inflater.inflate(R.layout.fragment_add_new_task, null);

        // Initialize input fields (EditText, etc.)
        final EditText taskInput = view.findViewById(R.id.taskInput);

        builder.setView(view)
               .setPositiveButton("Add Task", new DialogInterface.OnClickListener() {
                   @Override
                   public void onClick(DialogInterface dialog, int id) {
                       String task = taskInput.getText().toString();
                       if (!task.isEmpty()) {
                           // Save new task to database
                           DatabaseHandler2 db = new DatabaseHandler2(getContext());
                           db.openDatabase();
                           db.addTask(task, 0); // 0 means task is incomplete
                       }
                   }
               })
               .setNegativeButton("Cancel", new DialogInterface.OnClickListener() {
                   @Override
                   public void onClick(DialogInterface dialog, int id) {
                       // Dismiss the dialog
                   }
               });

        return builder.create();
    }
}
In this fragment, user types in a task name and hits “Add Task” to save it with . Once the task is safely stored, the method in the activity is triggered to refresh the task list and show the new task.
3. Edit Task Page
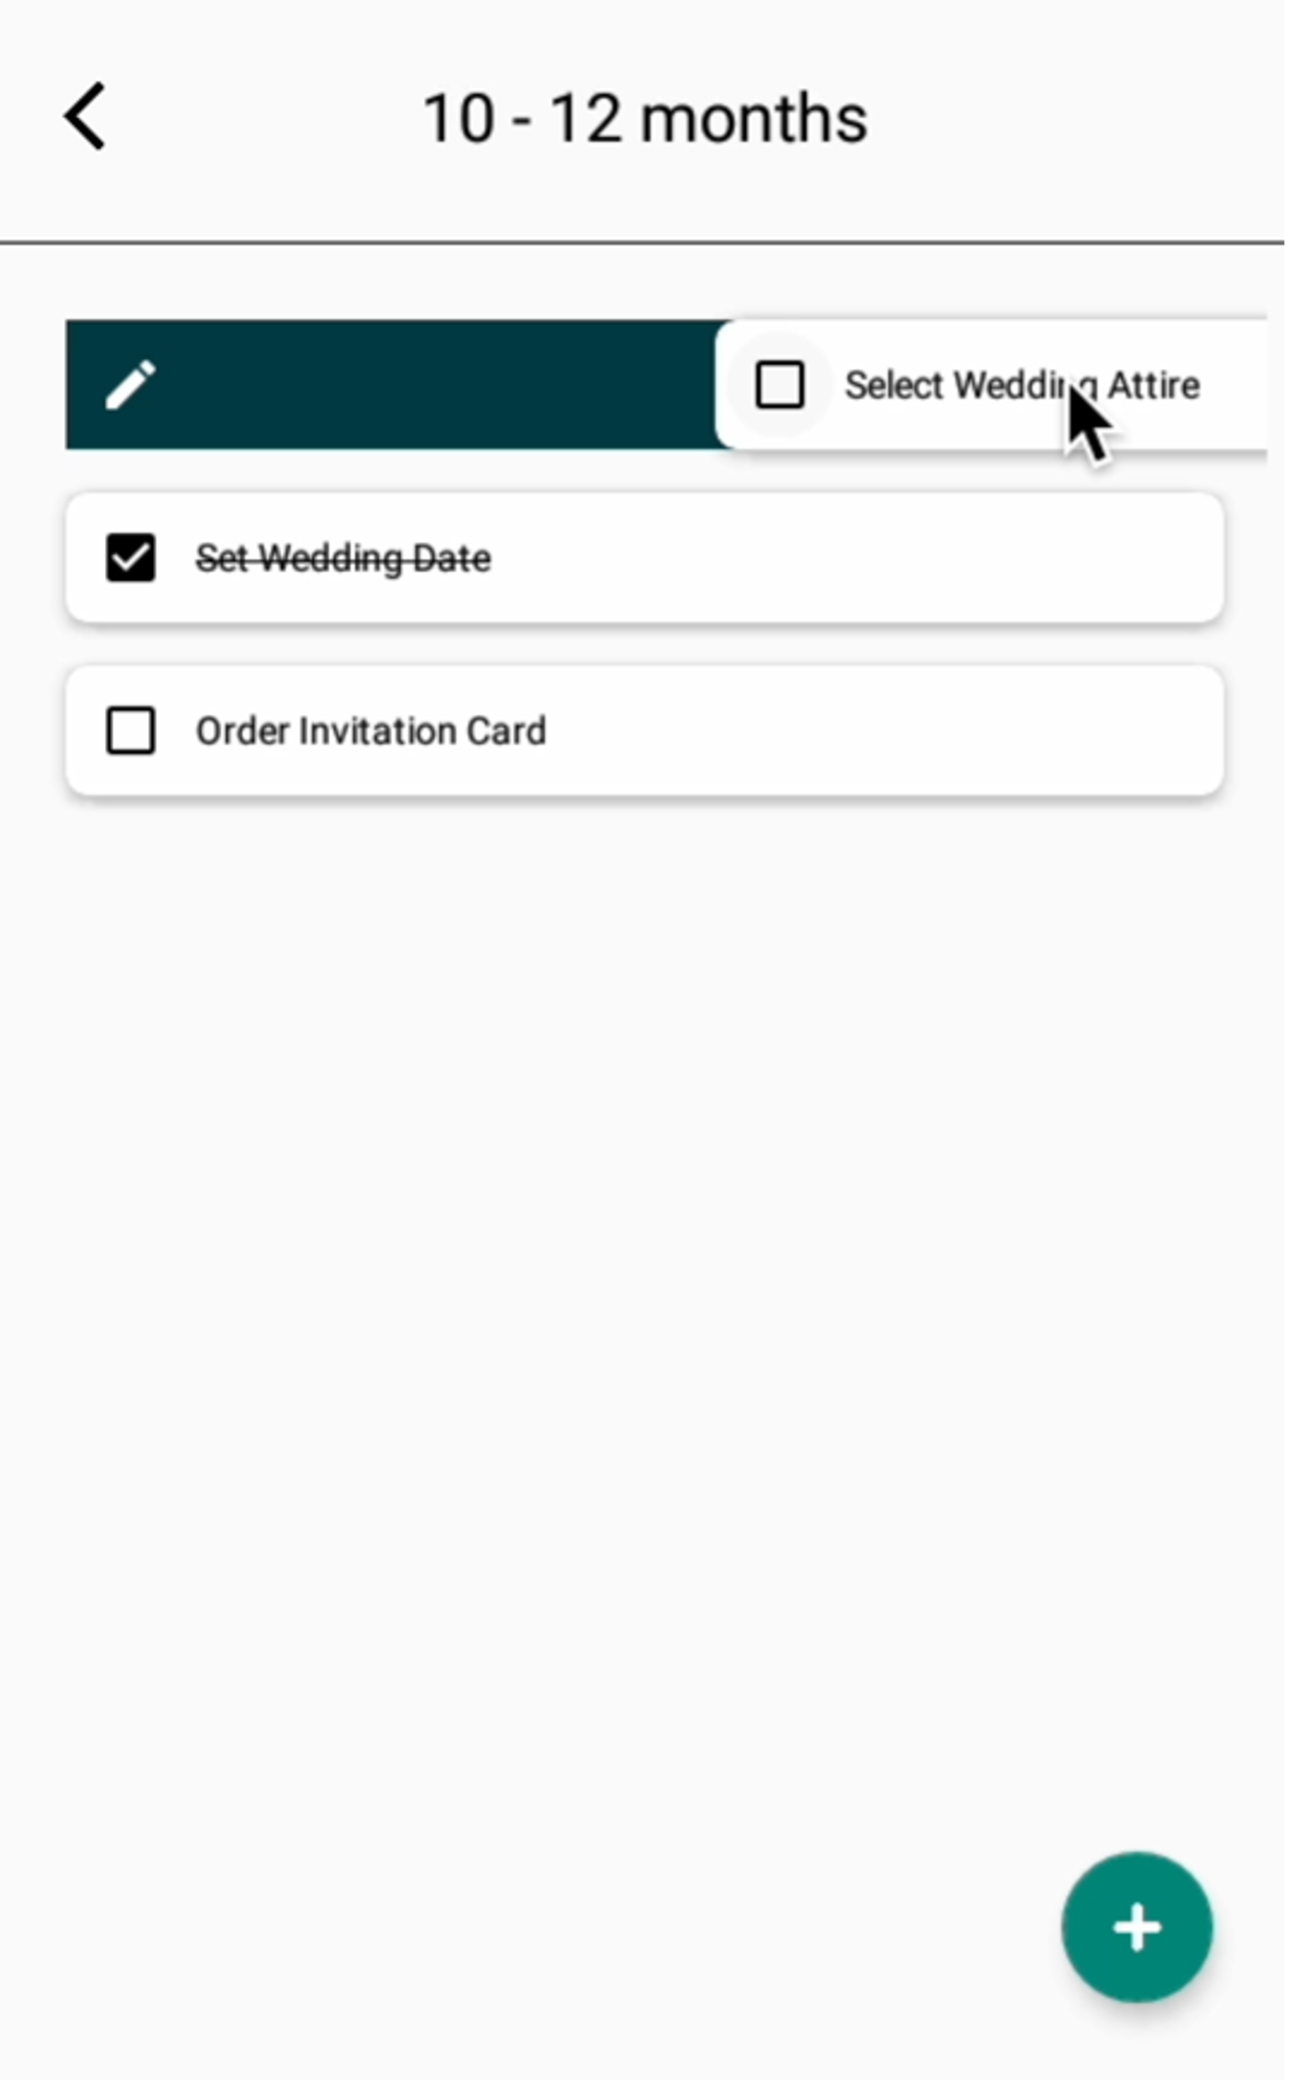
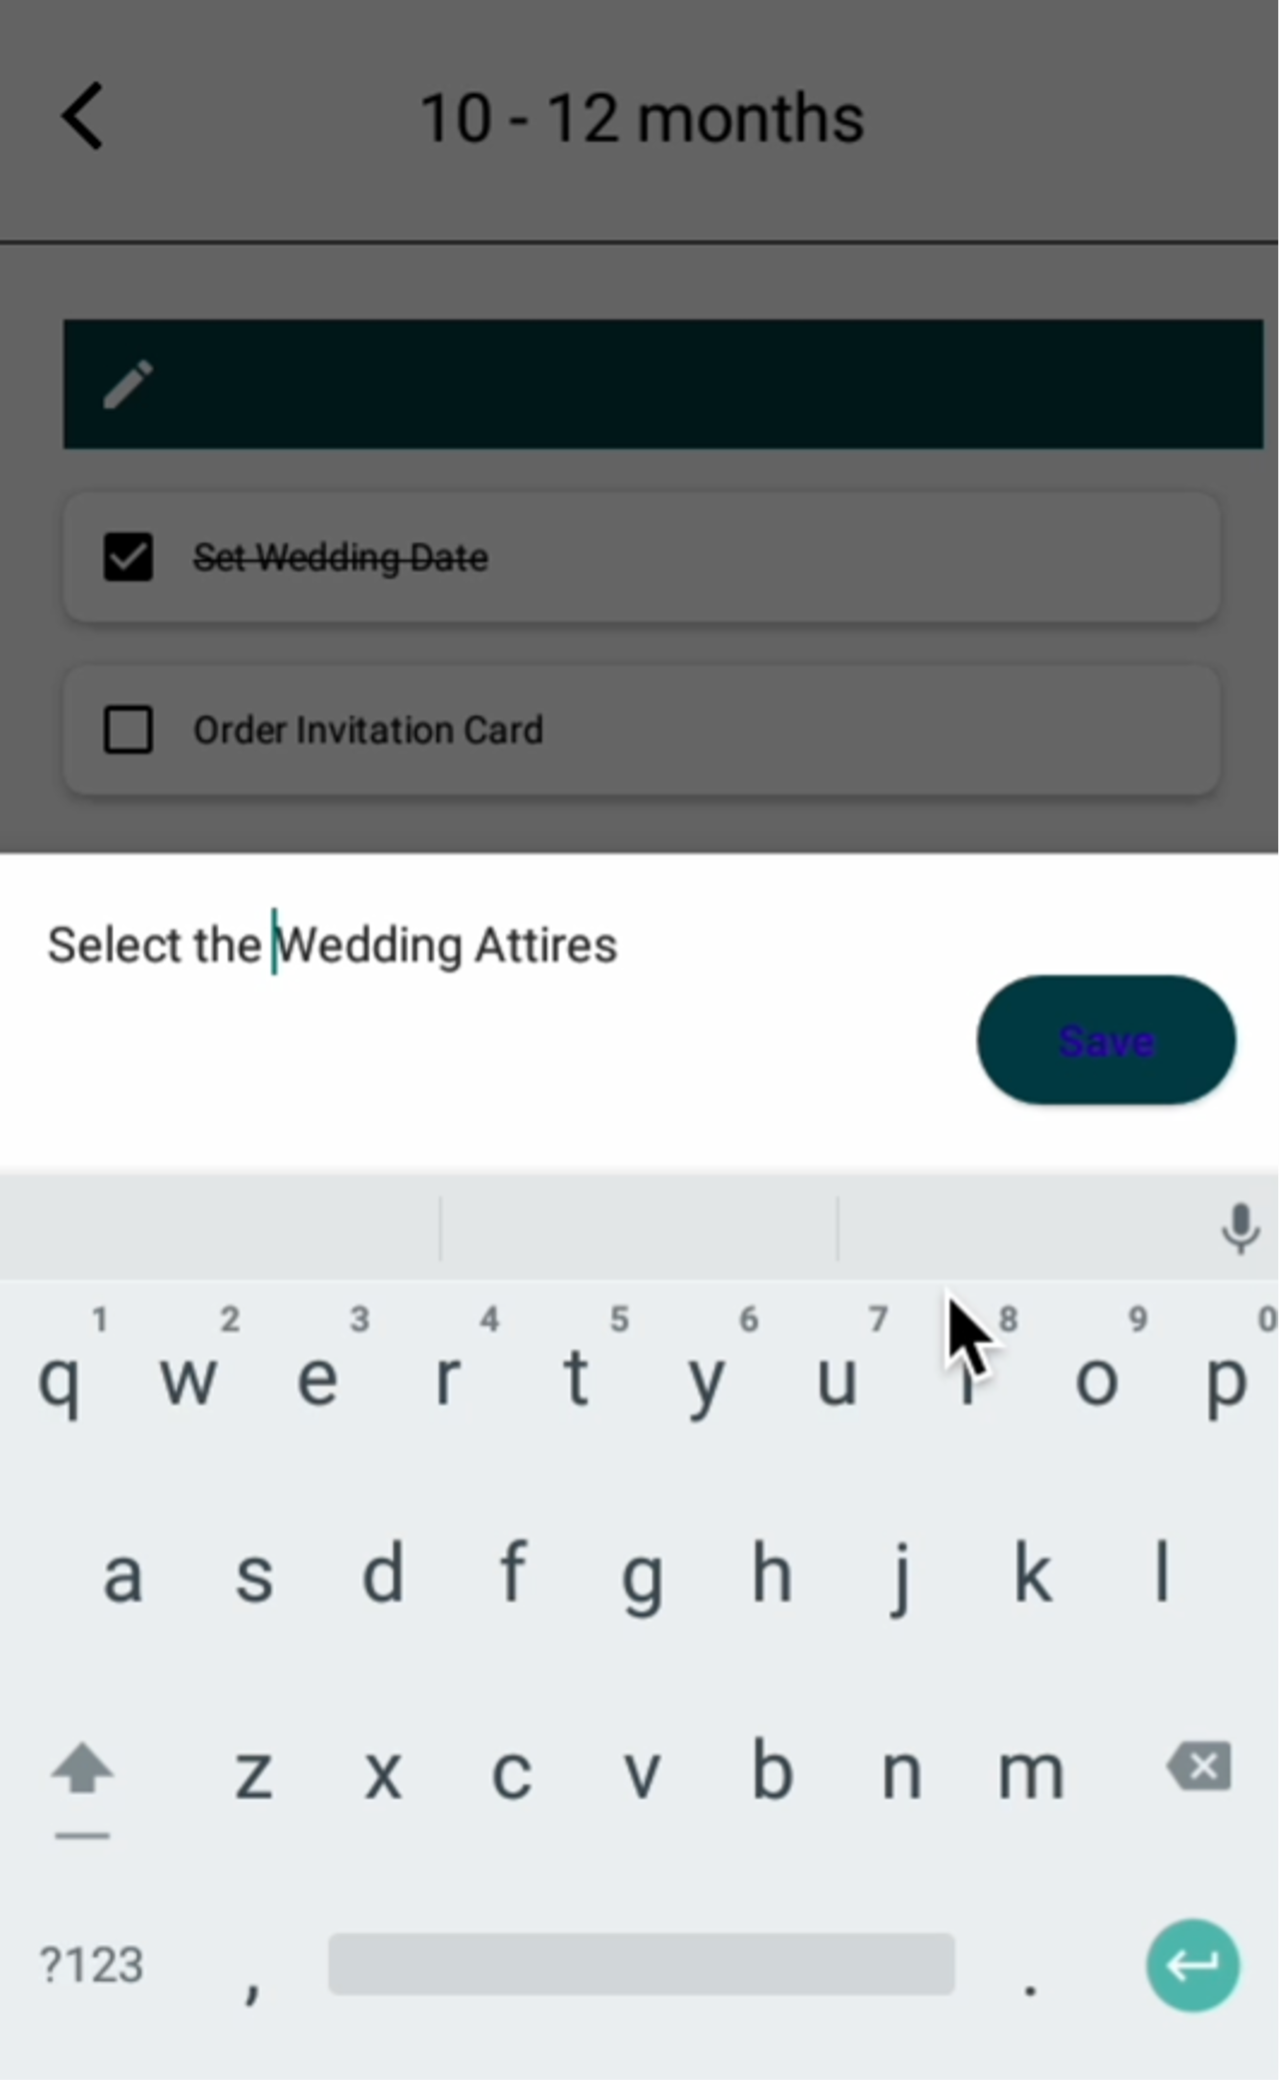
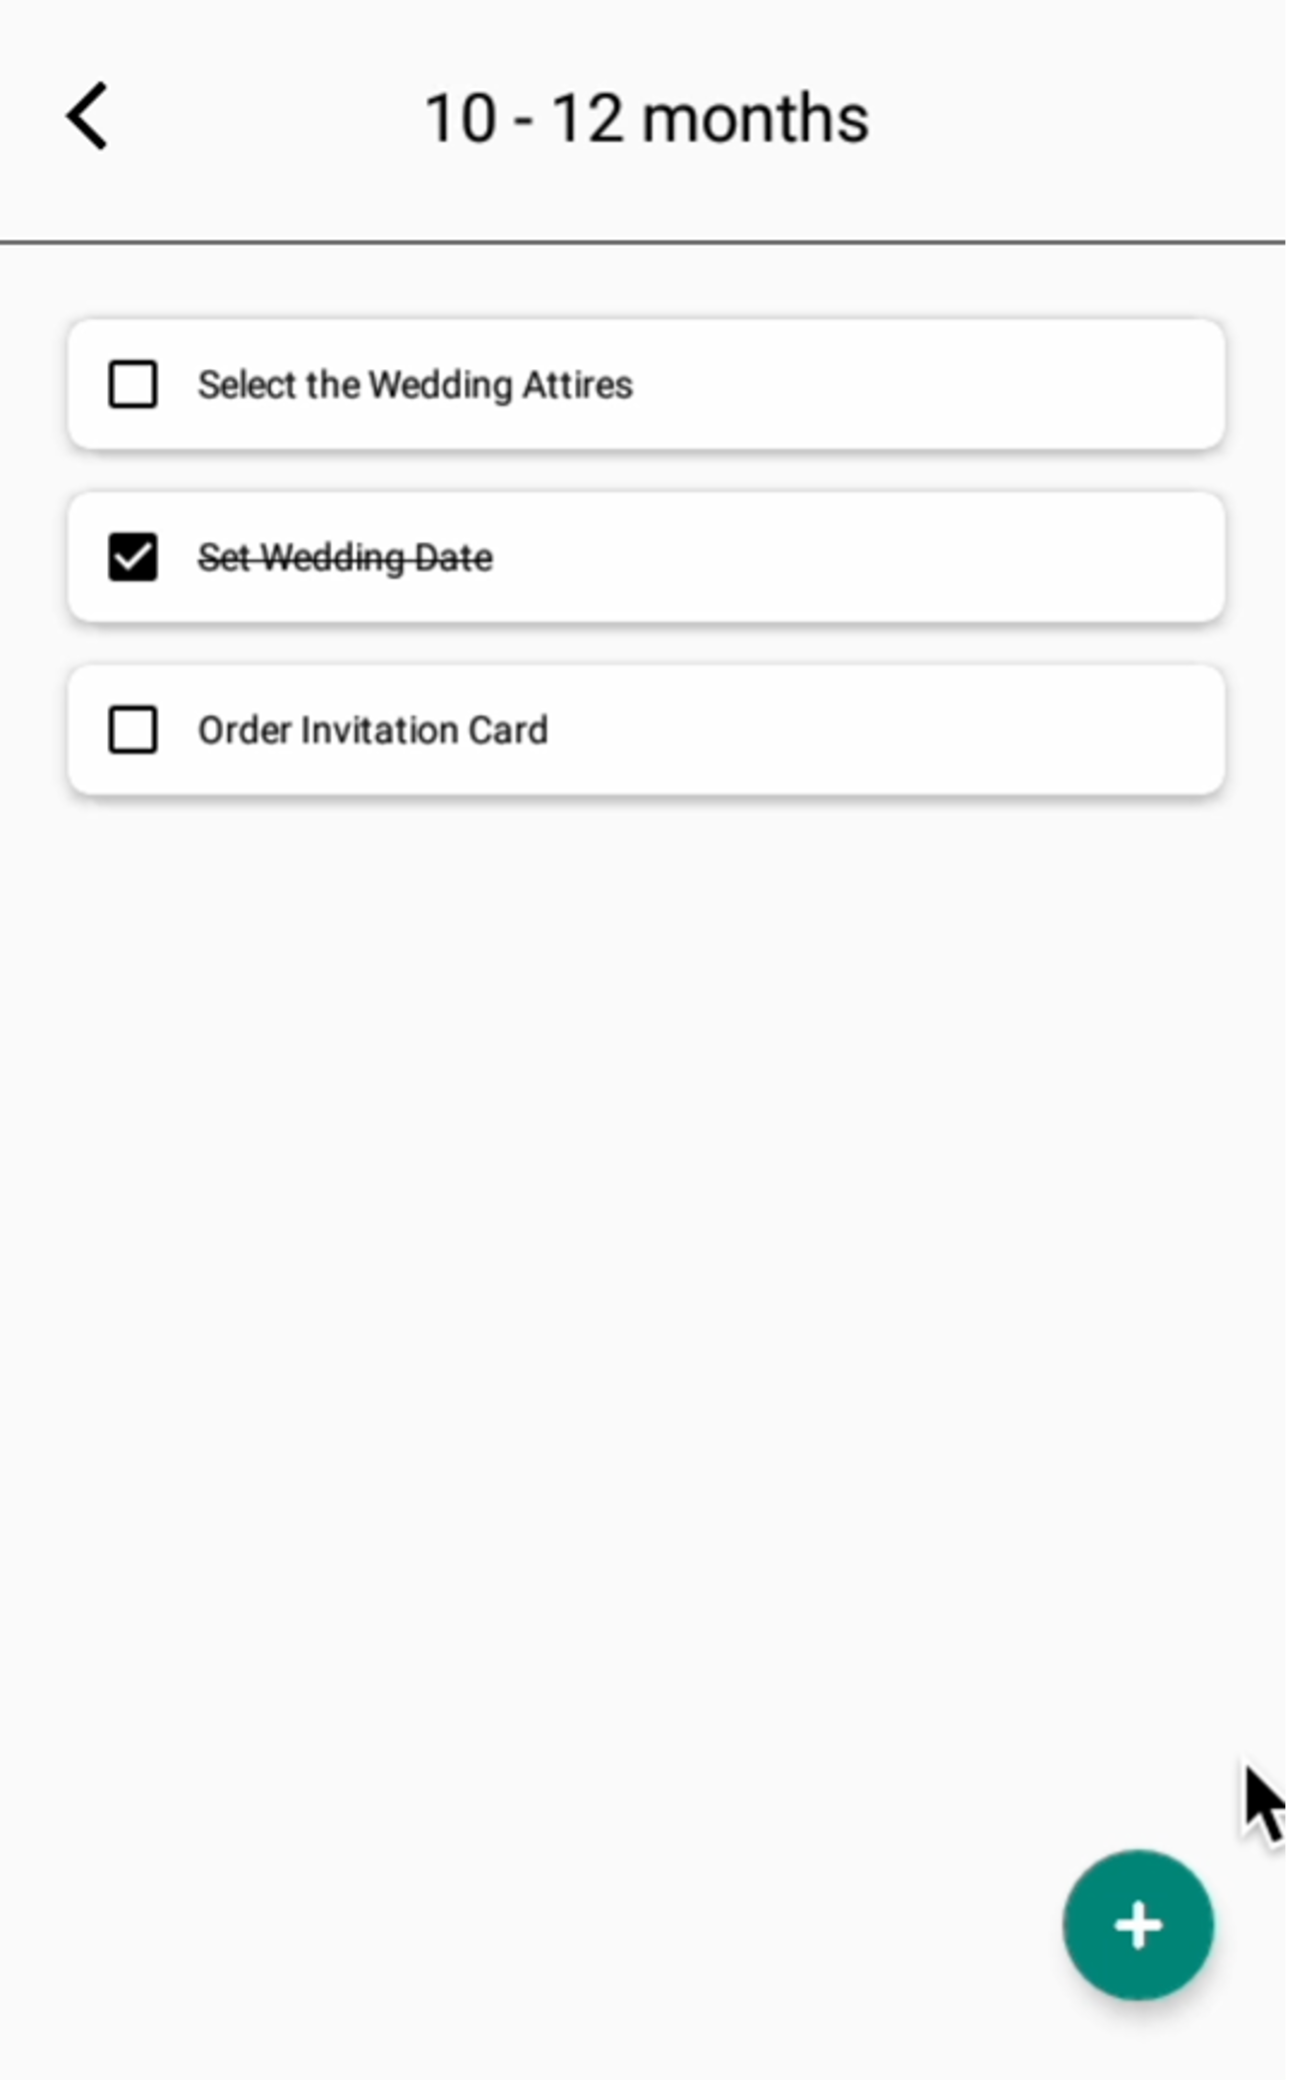
The figure above shows how the edit feature works. When a user swipes right on a task, a teal area pops up, signaling the option to edit. After the swipe, an input field appears, letting users type in their changes and save them to the database. Once done, the updated task will magically appear on the screen!
final Bundle bundle = getArguments();
if (bundle != null) {
    // It's an update, as data is passed to the fragment
    isUpdate = true;
    String task = bundle.getString("task");  // Get the task description
    newTaskText.setText(task);  // Set the current task's text in the EditText field

    // Optionally change the button's color if task is provided
    assert task != null;
    if (task.length() > 0 && getContext() != null) {
        newTaskSaveButton.setTextColor(ContextCompat.getColor(getContext(), R.color.colorPrimaryDark));
    }
}

newTaskSaveButton.setOnClickListener(new View.OnClickListener() {
    @Override
    public void onClick(View v) {
        String text = newTaskText.getText().toString();

        if (finalIsUpdate) {
            db.updateTask(bundle.getInt("id"), text);
        } else {
            ToDoModel task = new ToDoModel();
            task.setTask(text);
            task.setStatus(0);
            db.insertTask(task);
        }
        dismiss();
    }
});
This block checks if a Bundle is passed in. If it’s not null, we’re editing an existing task, so it loads the current task’s details into the EditText. The flag then decides—if true, it updates the task in the database, and if false, it creates a new task instead.
4. Delete Task Page
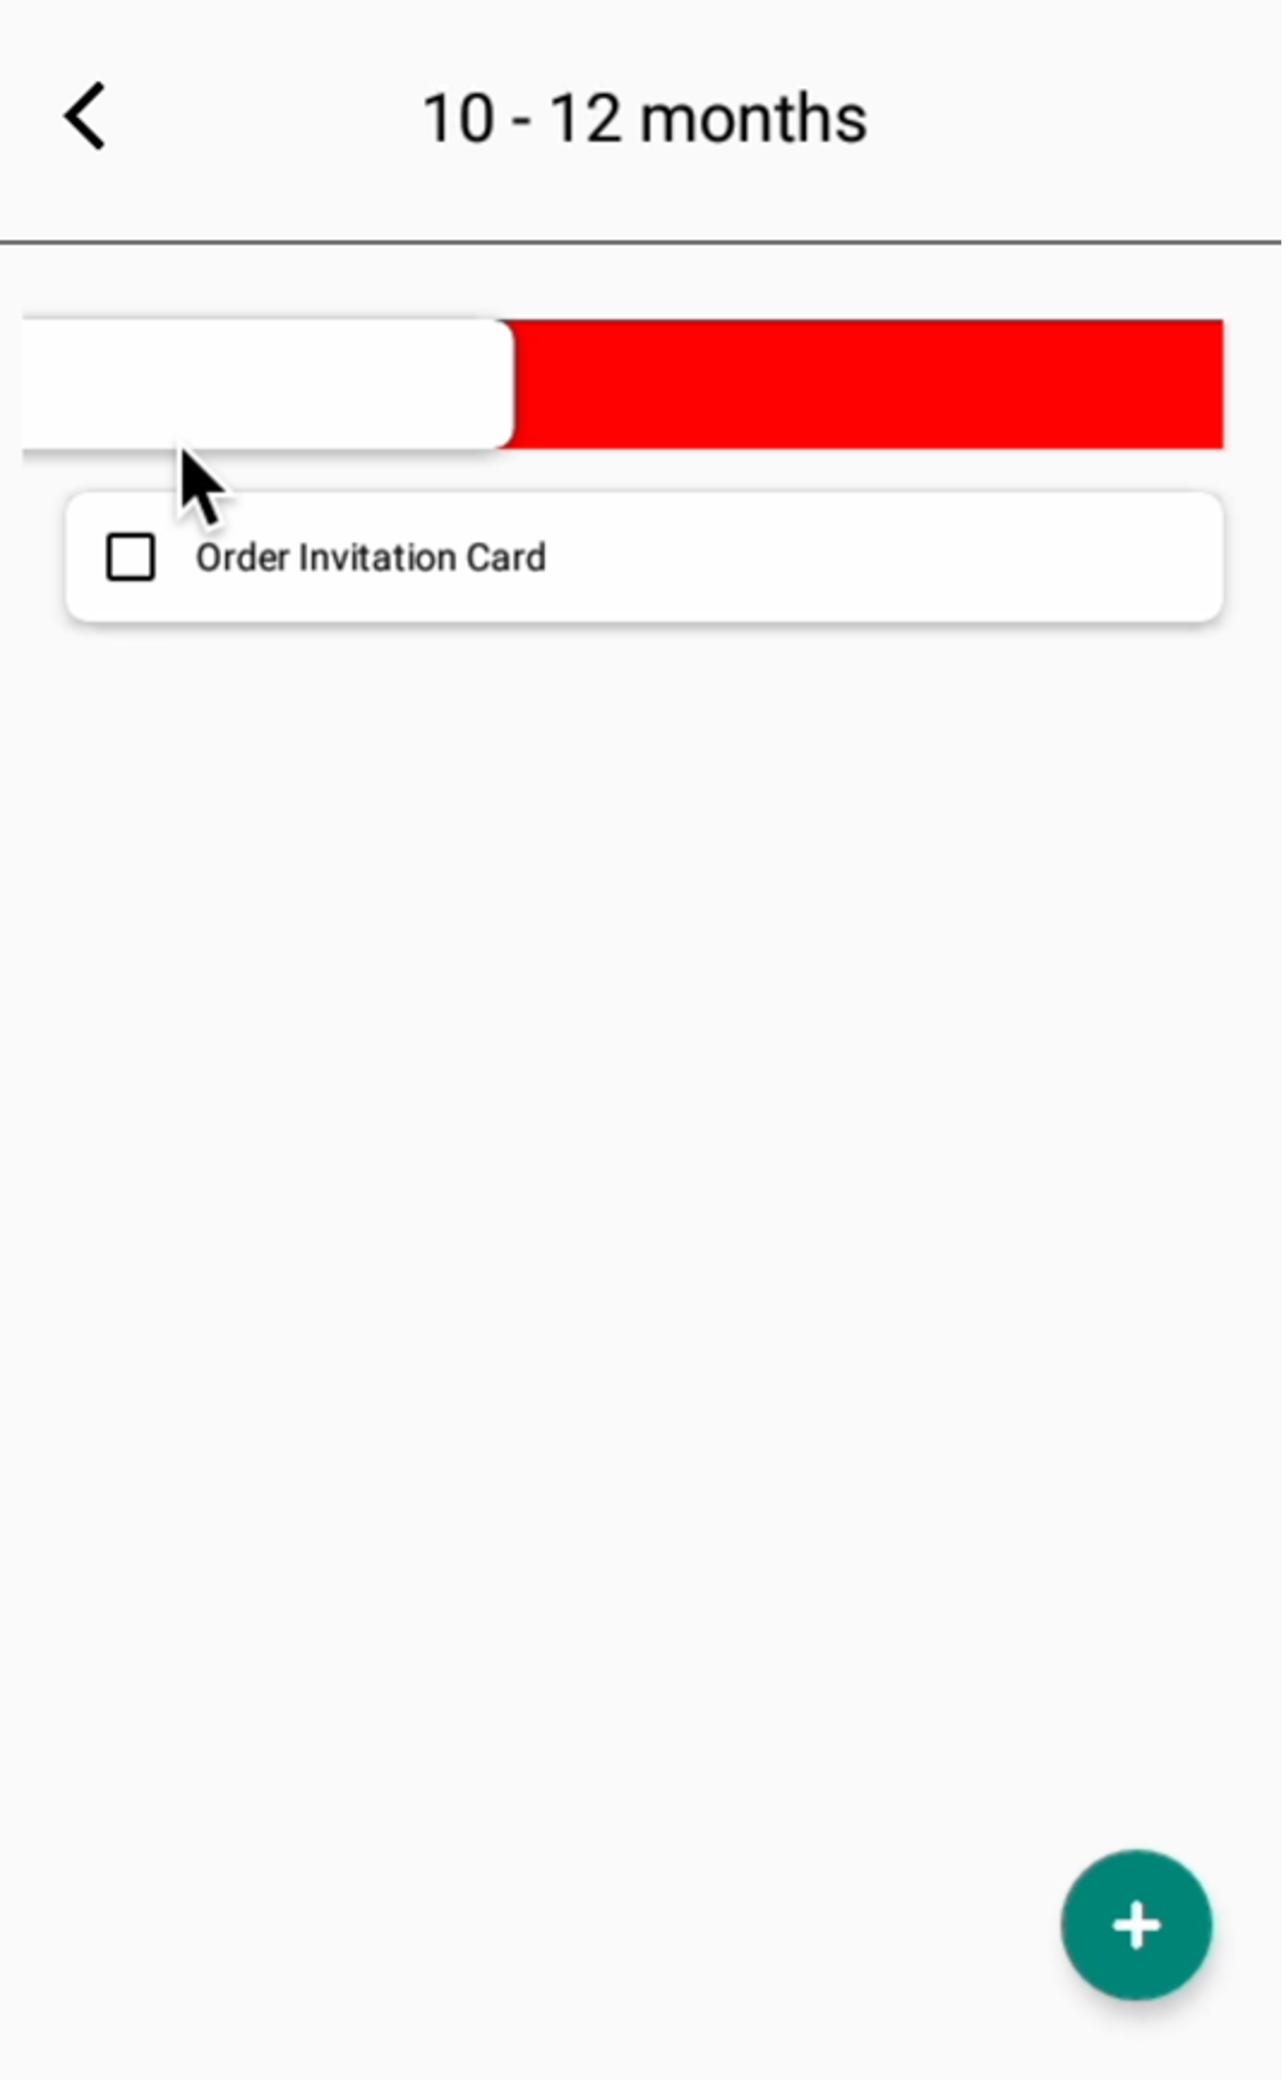
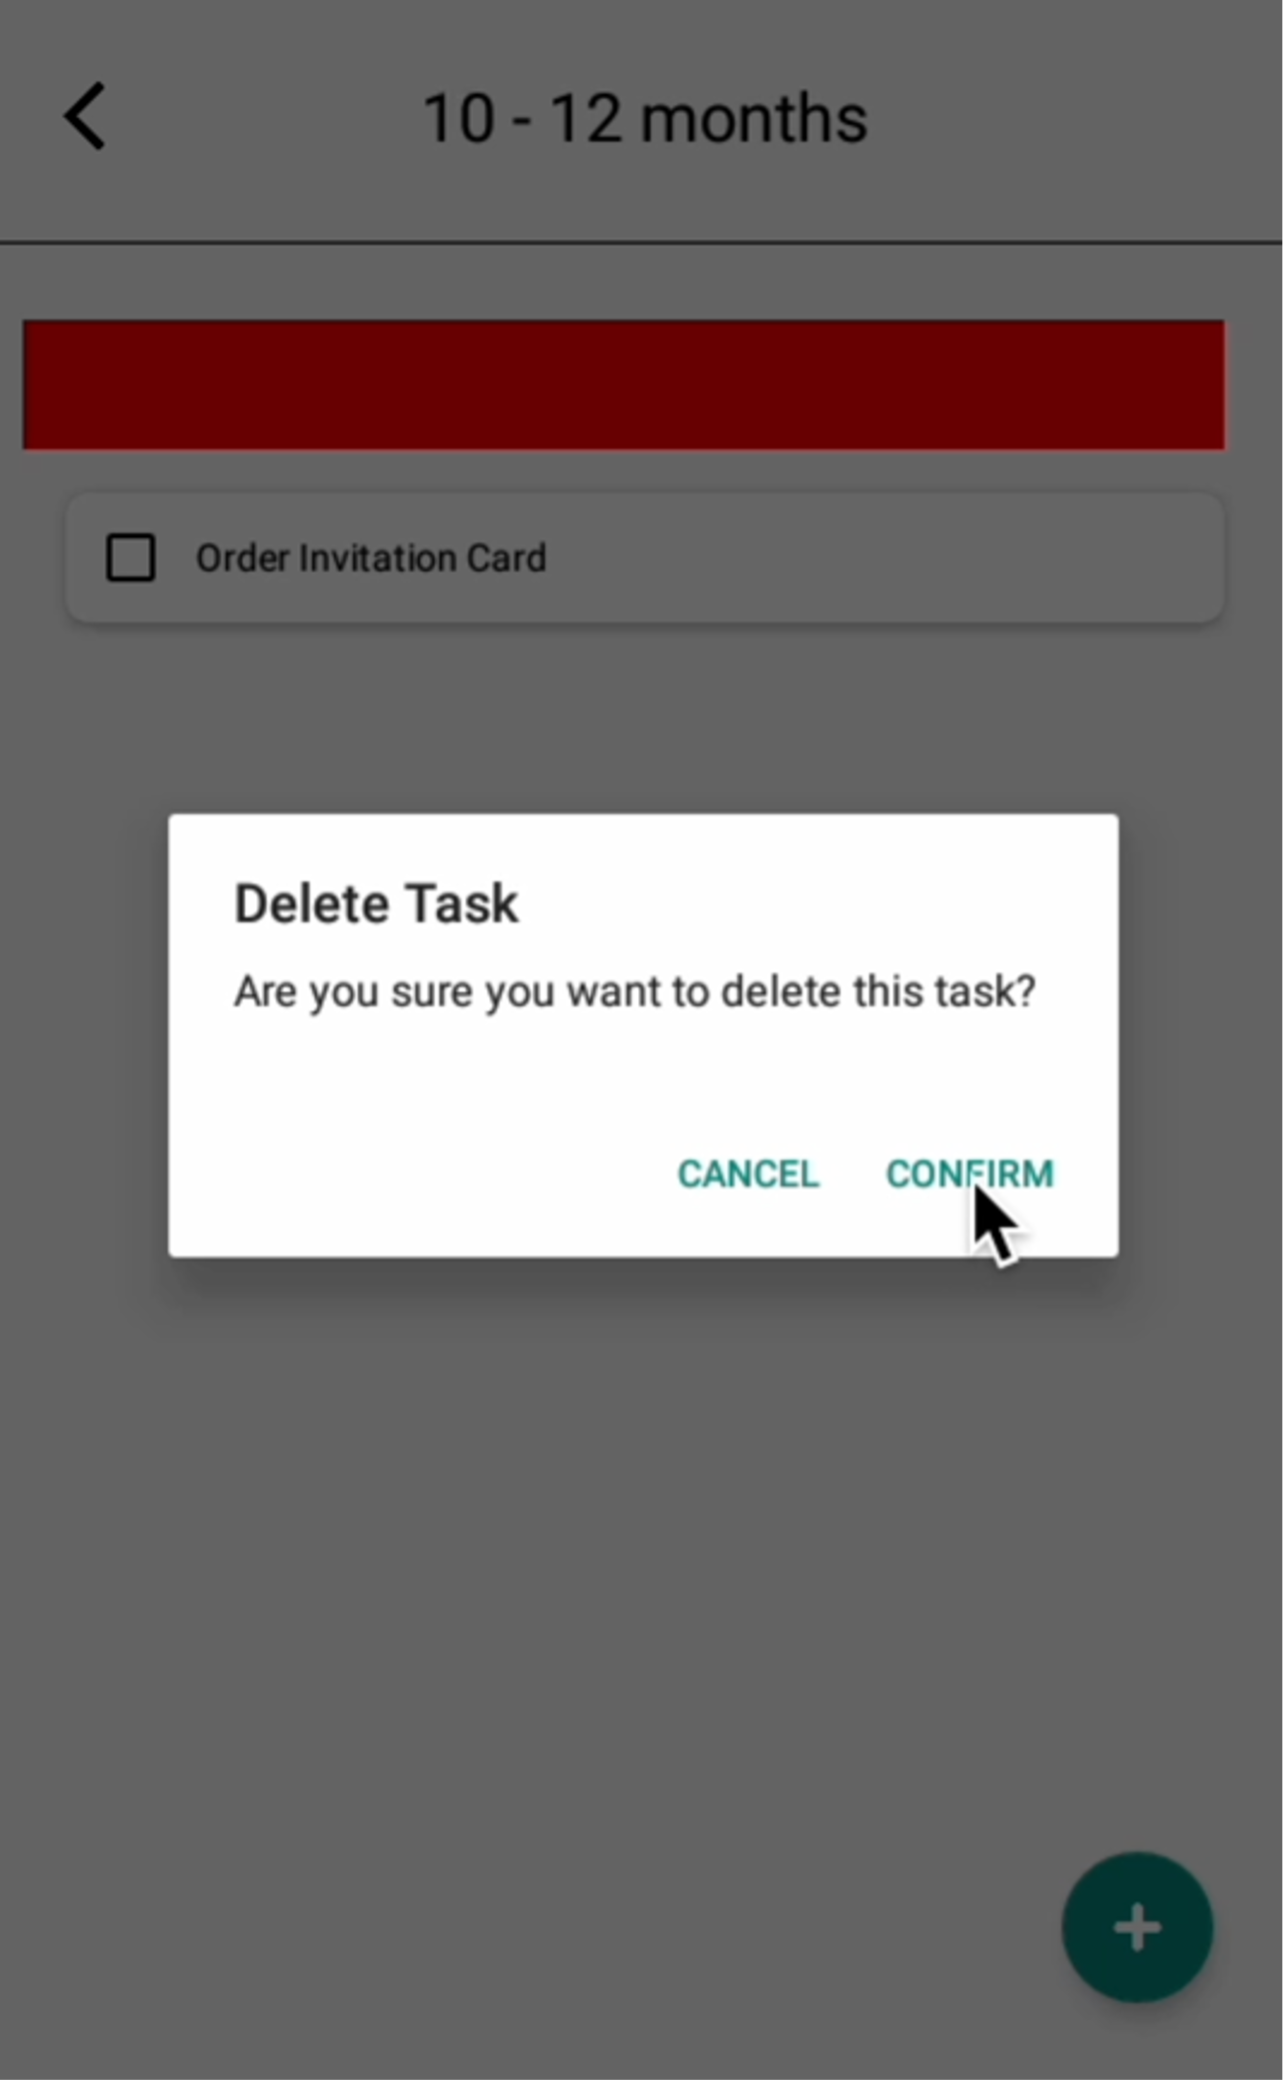
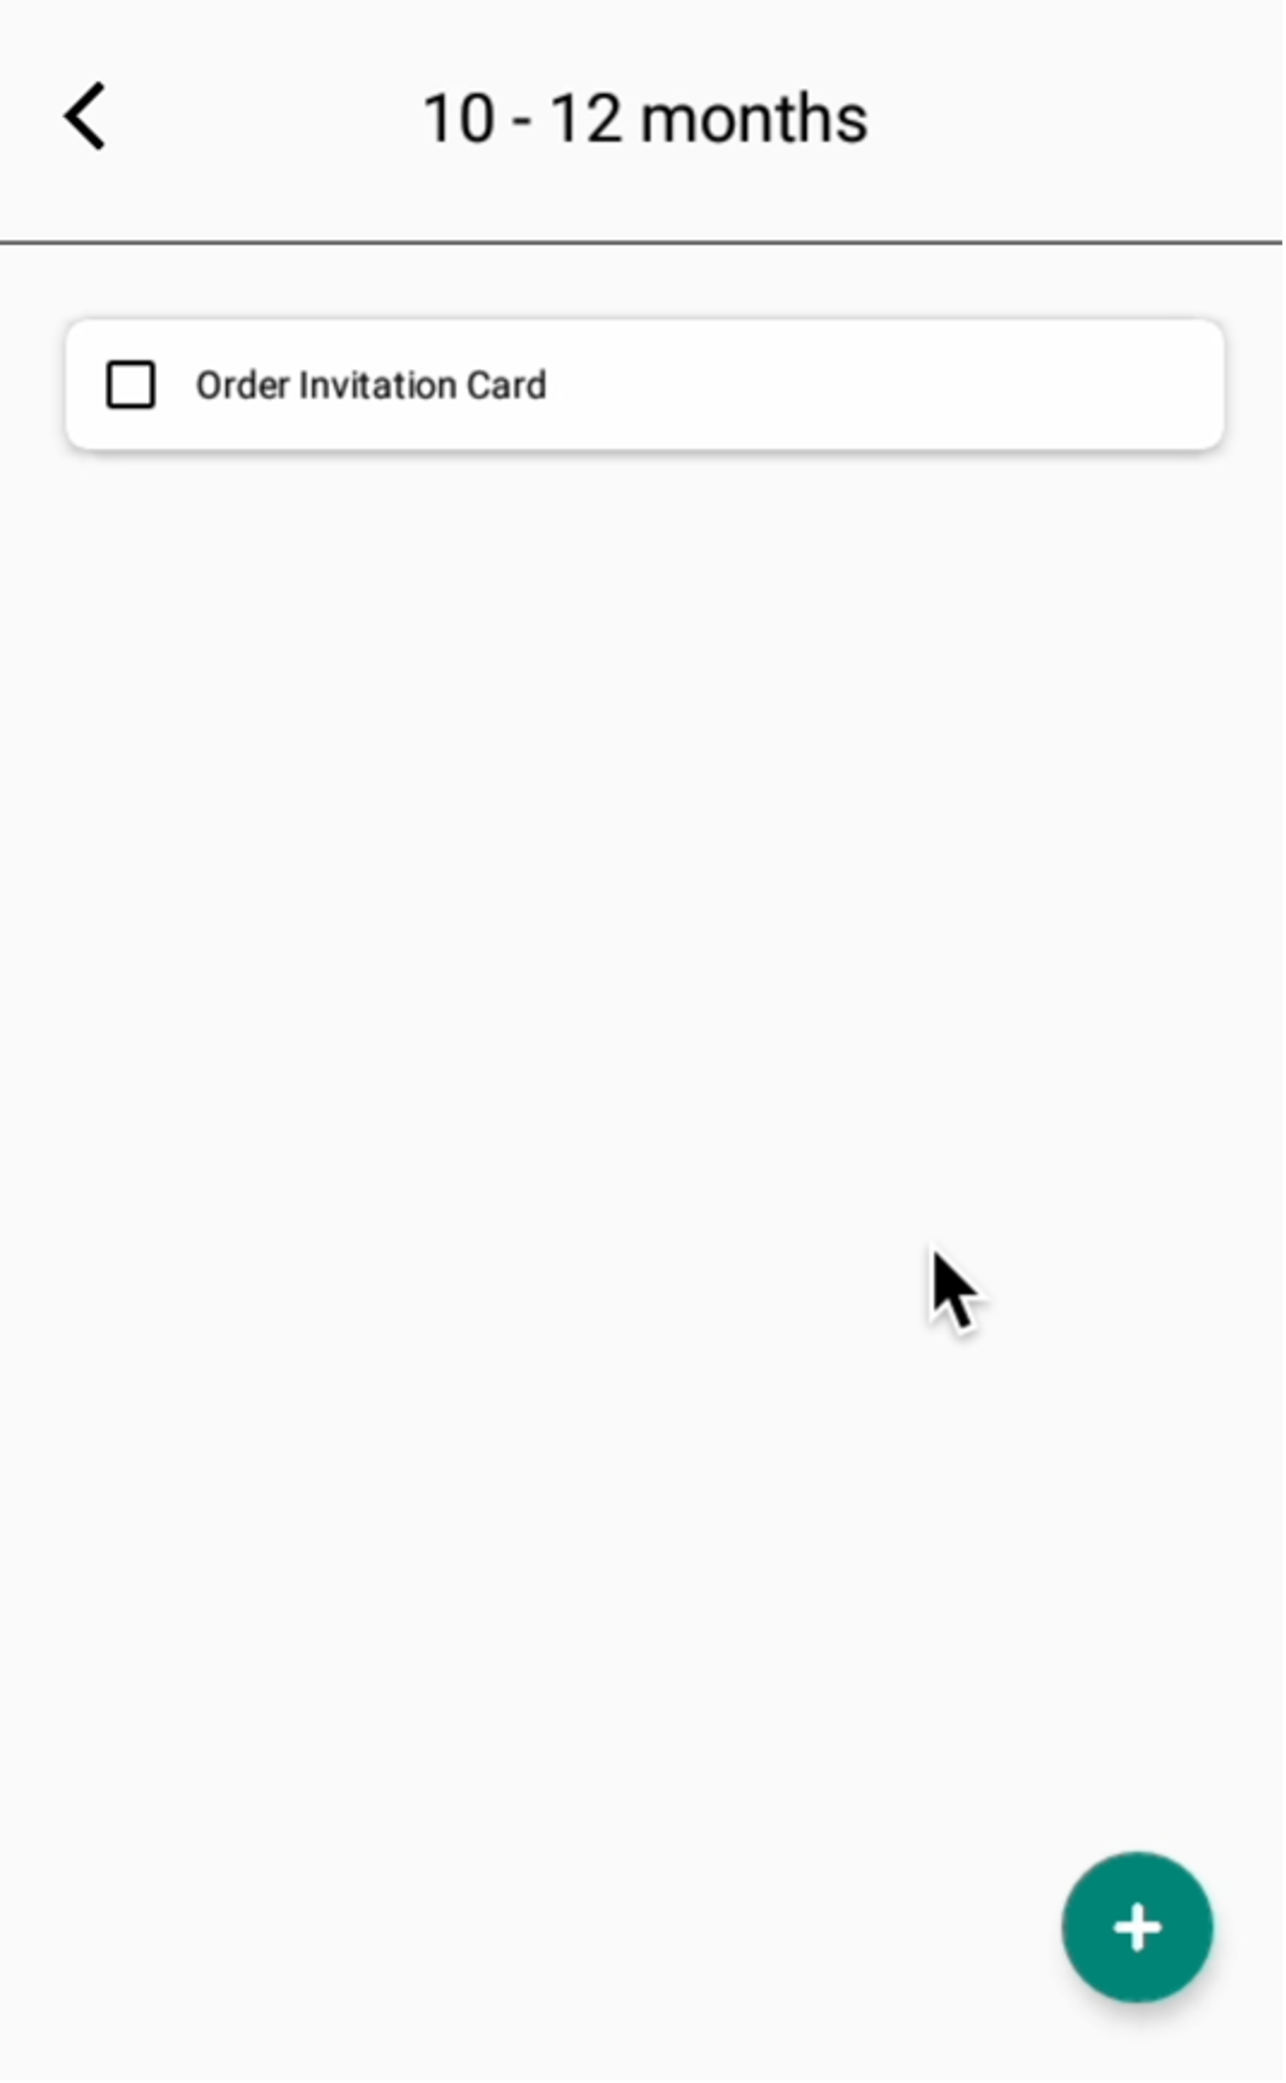
The figure above shows how to delete a task. Just swipe left on a task, and a red area appears, hinting that it’s time to delete. A small pop-up then pops up, asking you to confirm before the task vanishes for good
@Override
public void onSwiped(final RecyclerView.ViewHolder viewHolder, int direction) {
    final int position = viewHolder.getAdapterPosition();
    if (direction == ItemTouchHelper.LEFT) {
        // Show a confirmation dialog for deletion
        AlertDialog.Builder builder = new AlertDialog.Builder((adapter.getContext()));
        builder.setTitle("Delete Task");
        builder.setMessage("Are you sure you want to delete this task?");
        builder.setPositiveButton("Confirm", new DialogInterface.OnClickListener() {
            @Override
            public void onClick(DialogInterface dialog, int which) {
                // If confirmed, delete the task
                adapter.deleteItem(position);
            }
        });
        builder.setNegativeButton(android.R.string.cancel, new DialogInterface.OnClickListener() {
            @Override
            public void onClick(DialogInterface dialog, int which) {
                // If cancelled, notify the adapter that the item was not deleted
                adapter.notifyItemChanged(viewHolder.getAdapterPosition());
            }
        });
        AlertDialog dialog = builder.create();
        dialog.show();
    }
    else {
        // If swiped right, initiate the edit functionality
        adapter.editItem(position);
    }
}
Swipe left on a task, and a confirmation dialog pops up. If you hit “Confirm,” the task gets deleted with . If you tap “Cancel,” the swipe is undone, and the task stays put with .
Conclusion
So, I’ve successfully built the Wedding Checklist app with 37 Java classes and checked off all the requirements. This project taught me a lot—like using MySQL for task storage and adding that satisfying strikethrough for completed tasks. It wasn’t all easy for a beginner like me, especially with the database and features, but I pushed through and got a fully working app out of it. I’m pretty happy with the result, and this has definitely boosted my confidence and skills for future projects!