


Note that in this project, we were only allowed to use HTML, basic CSS, and PHP along with MySQL as the database.
Introduction
GearGrid is an e-commerce site where users can browse and buy sports gear like shoes, clothing, and accessories. The site uses a grid layout to organize products by categories, making it easy to explore and shop for all your sports needs.
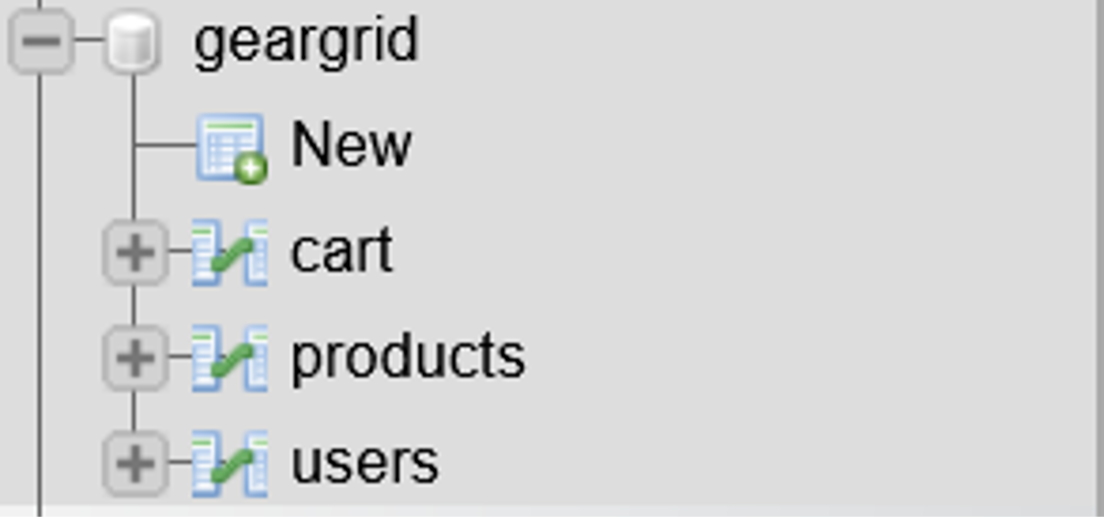
Database
<?php
session_start();
include('config.php');
if (!isset($_SESSION['user_id'])) {
header("Location: login.php");
exit();
}
$user_id = $_SESSION['user_id'];
$conn->close();
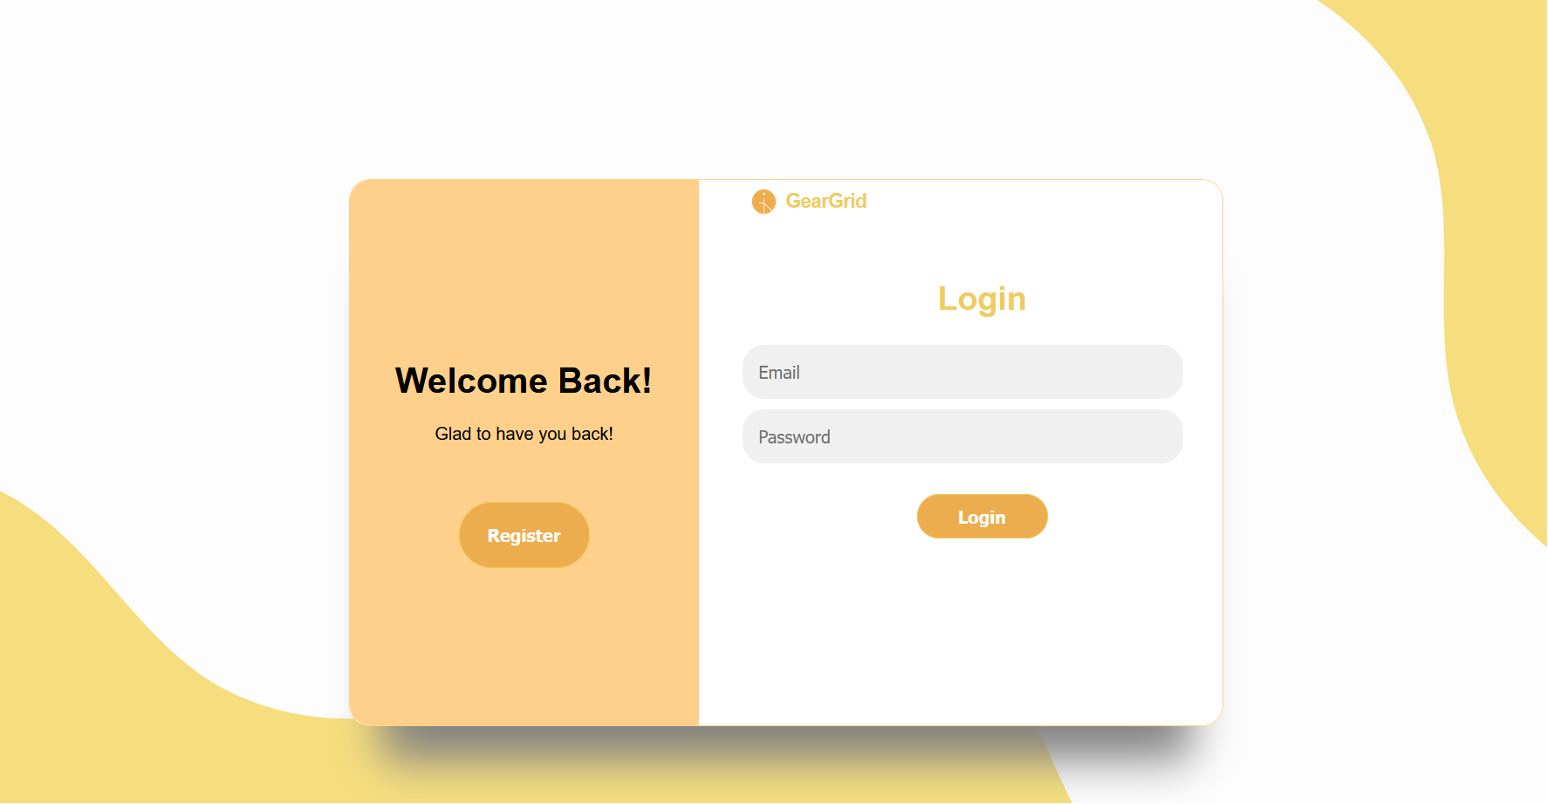
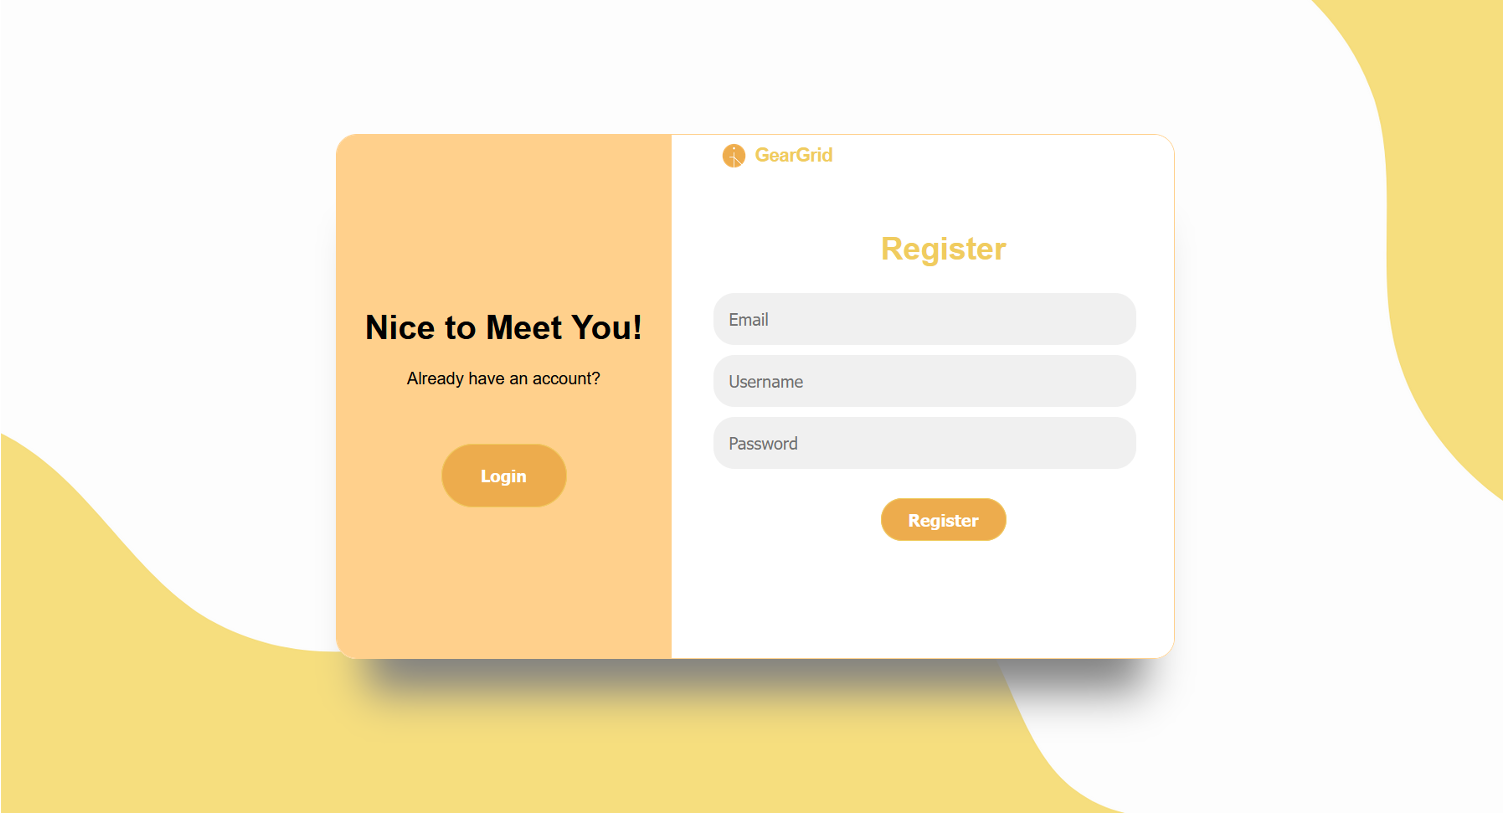
?>Each page is equipped with configuration settings, including database connection details, to verify user authentication. If the user isn’t authenticated, they’ll be automatically redirected to the login page to ensure secure access.
Print Screens and Code
1. Authentication
2. Header or Navbar


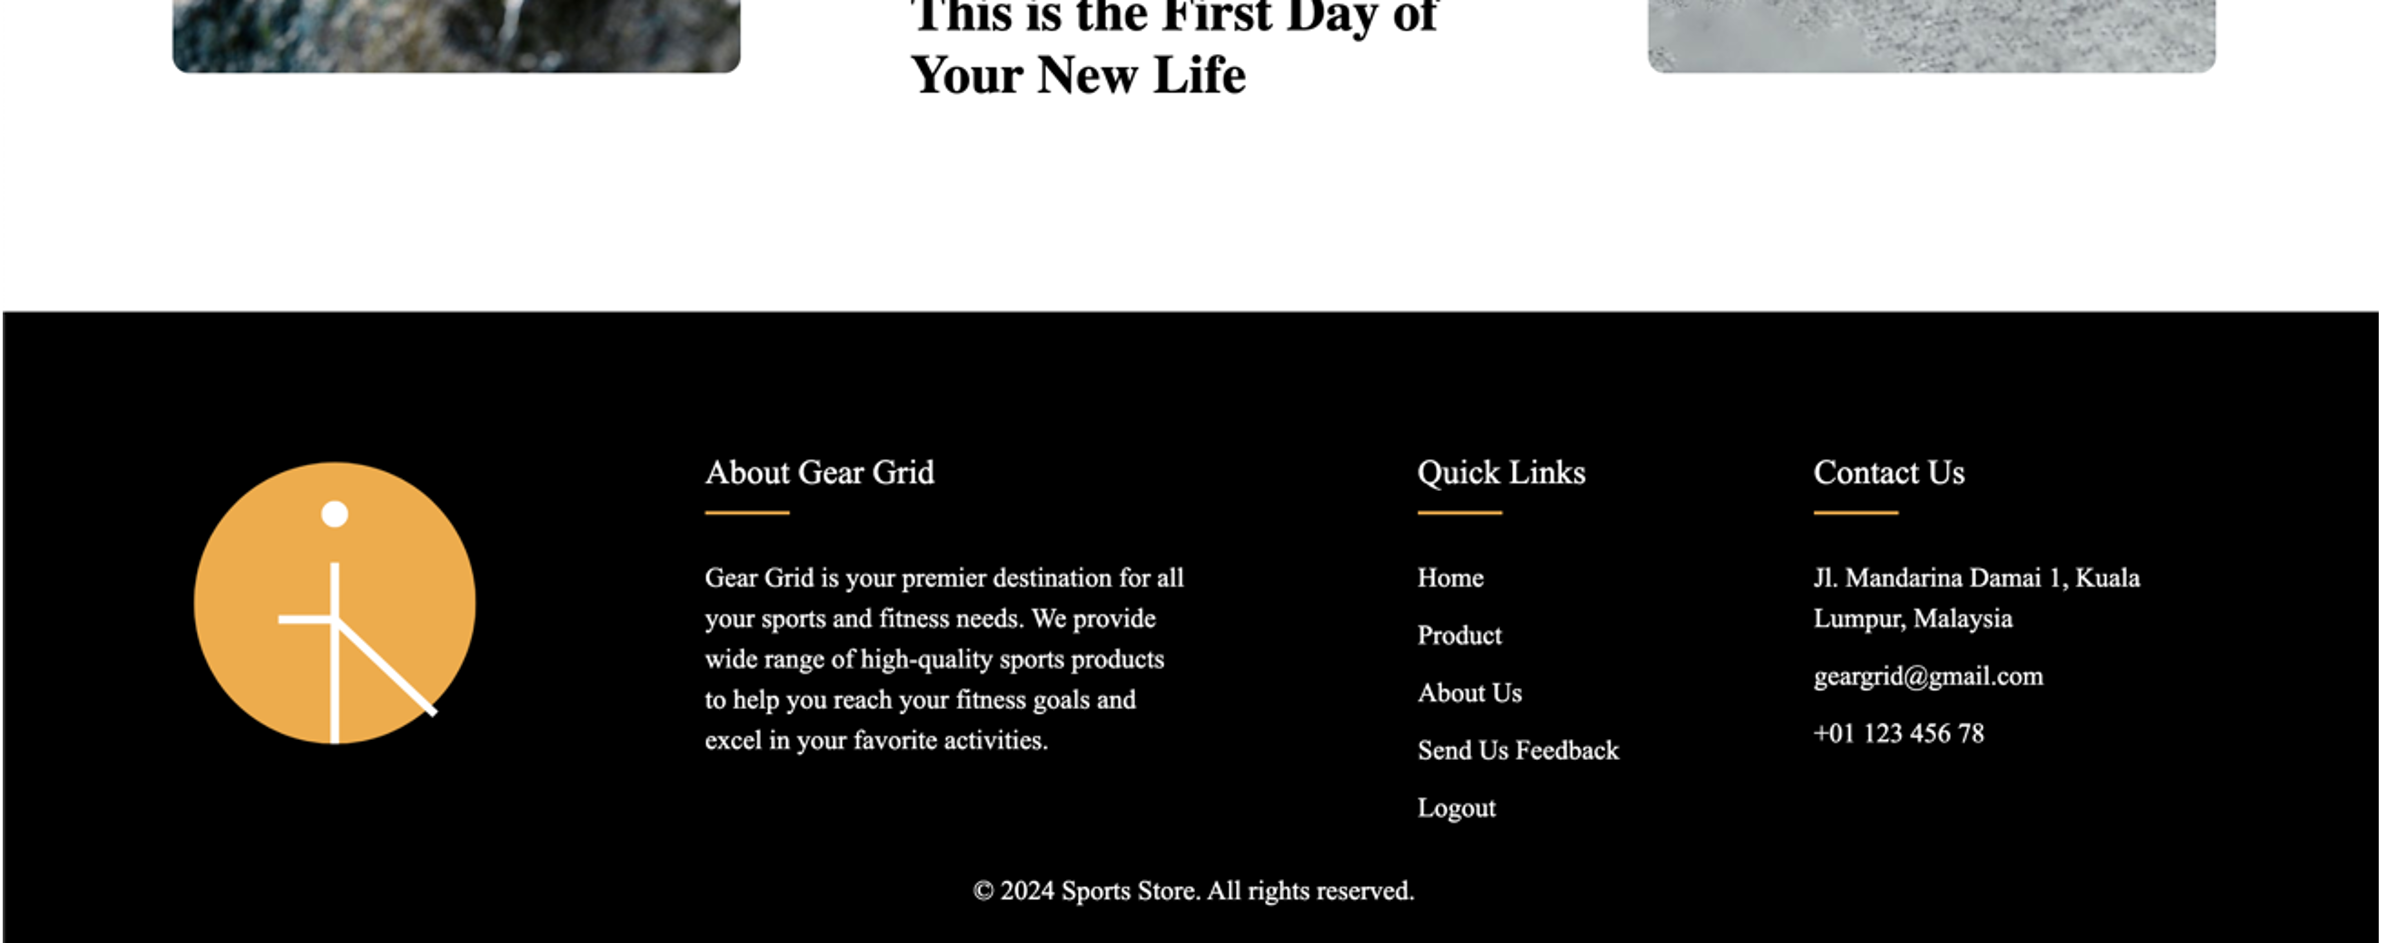
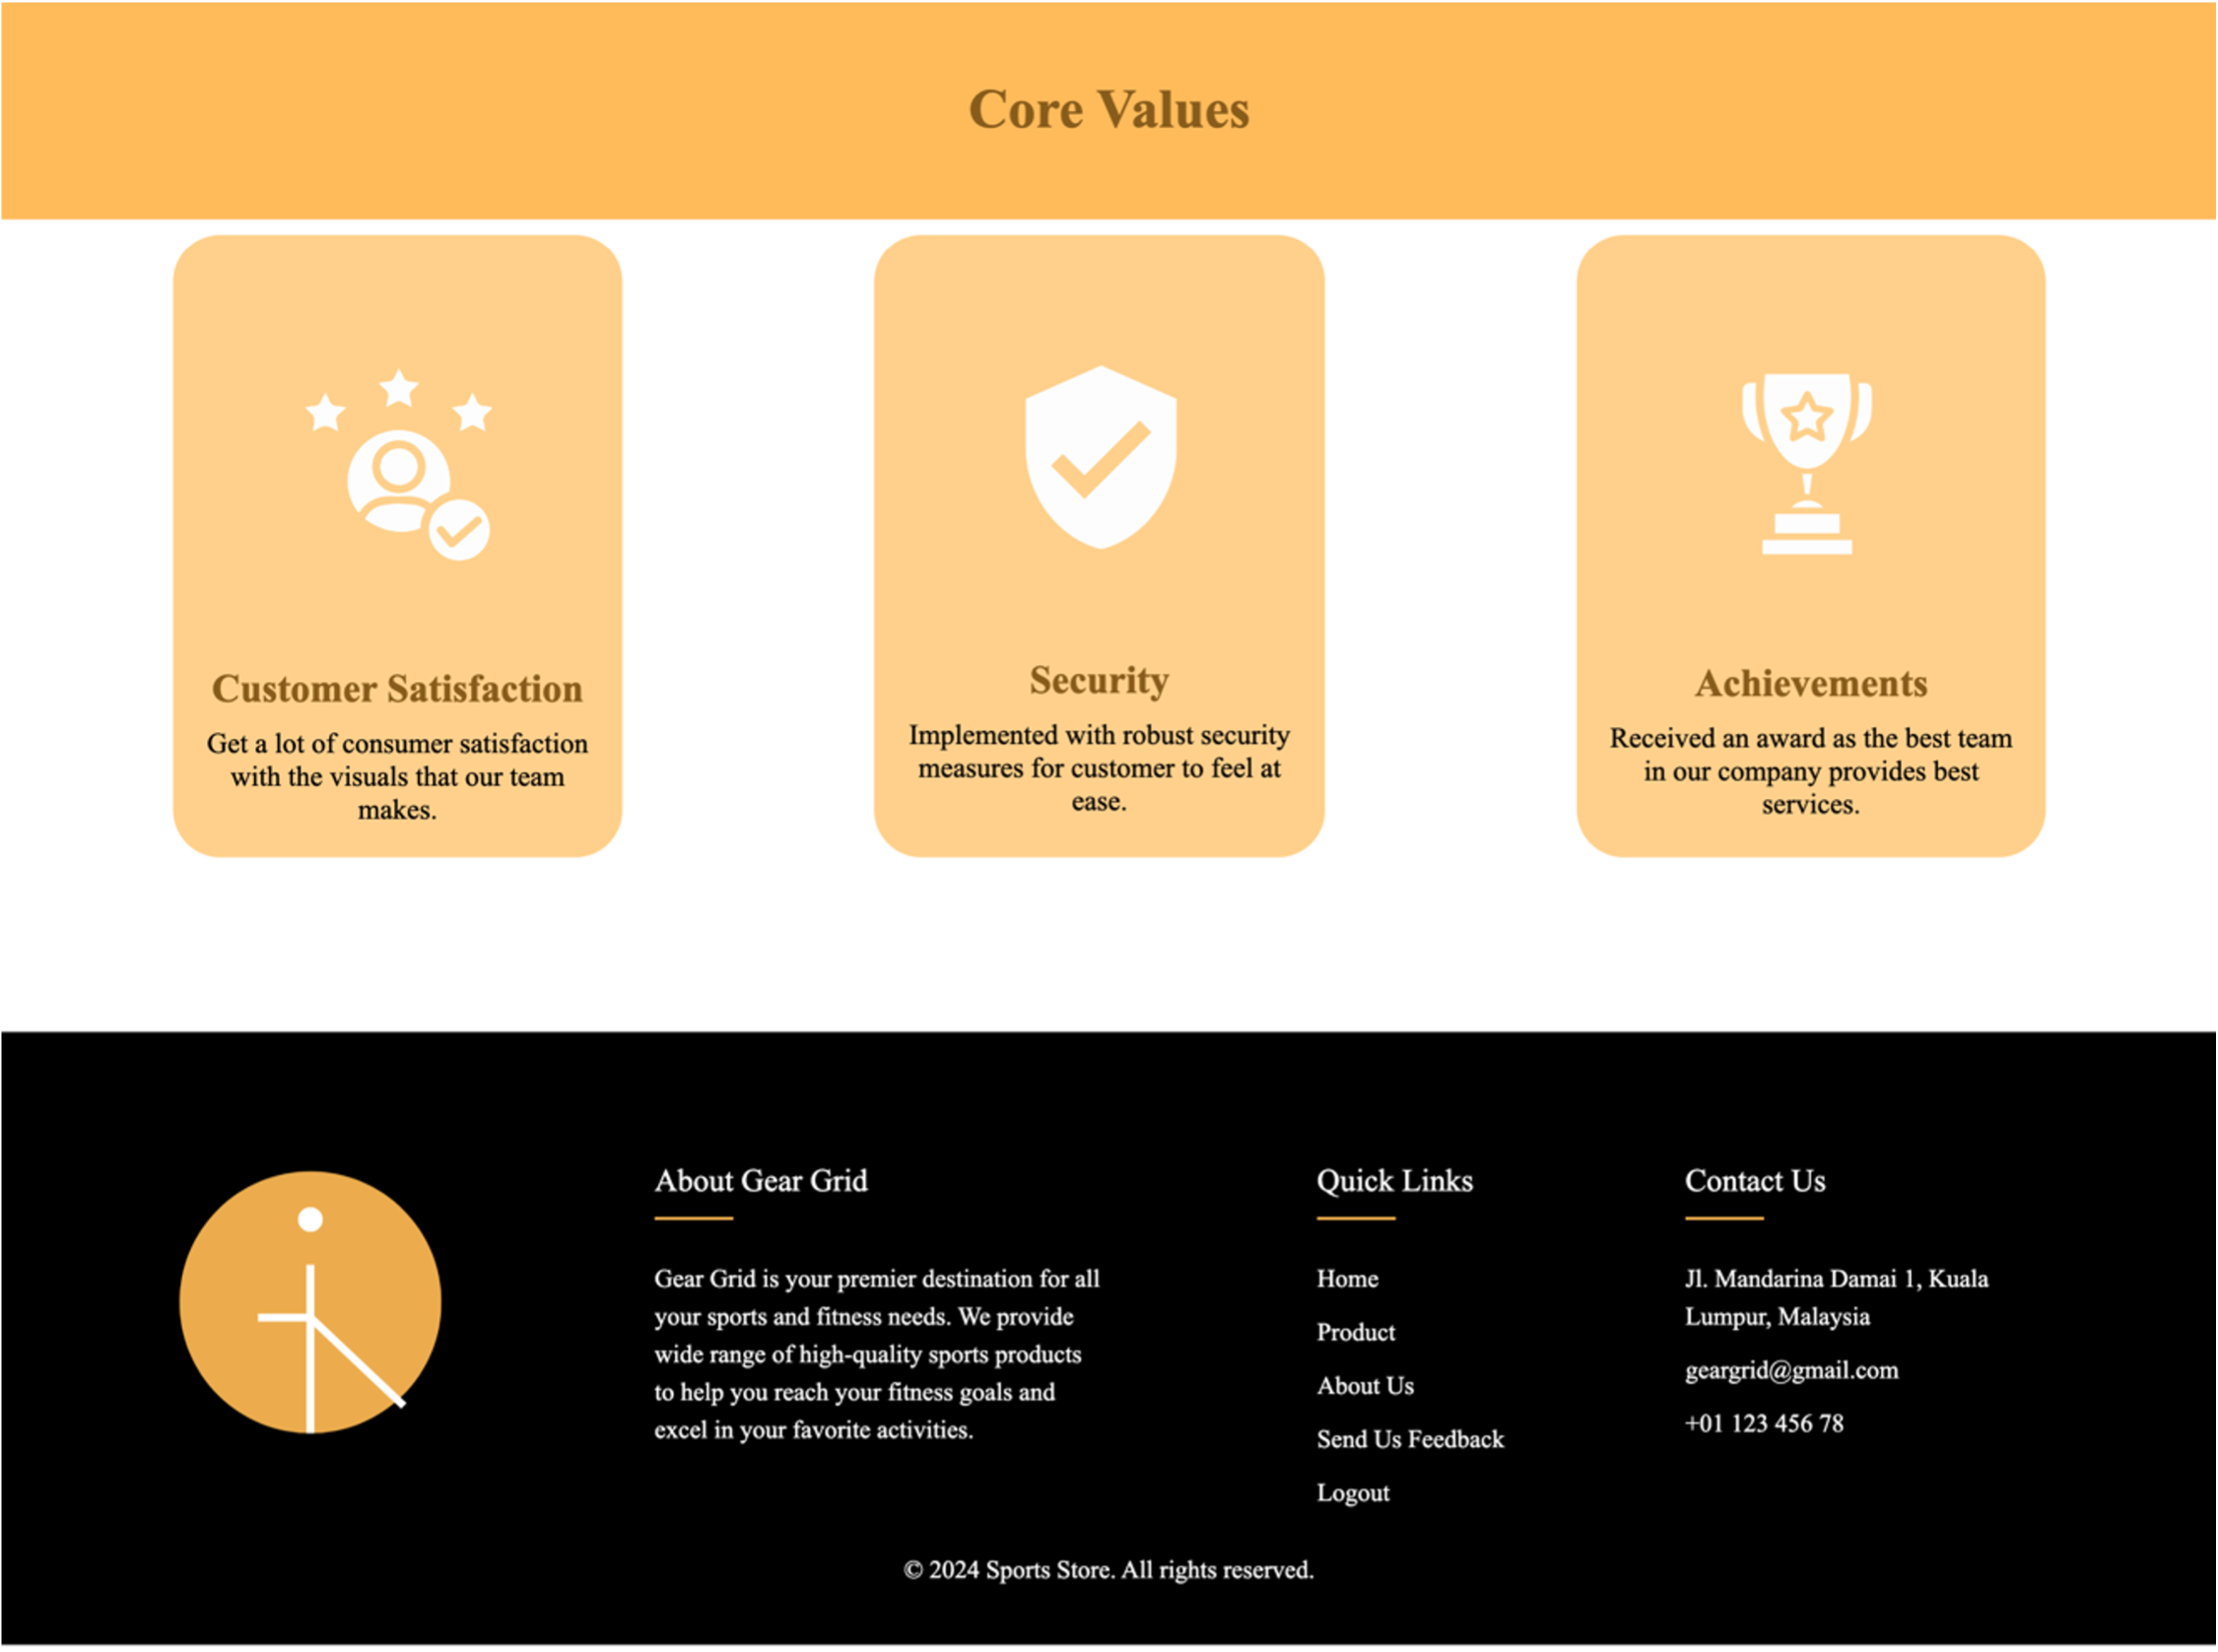
3. Footer

4. Home Page


The GearGrid homepage is your gateway to sports gear shopping. It features a hero section with a call-to-action, a** Featured Products** area with top picks, and a** New Season section** highlighting the latest arrivals. The footer offers quick links for easy navigation.
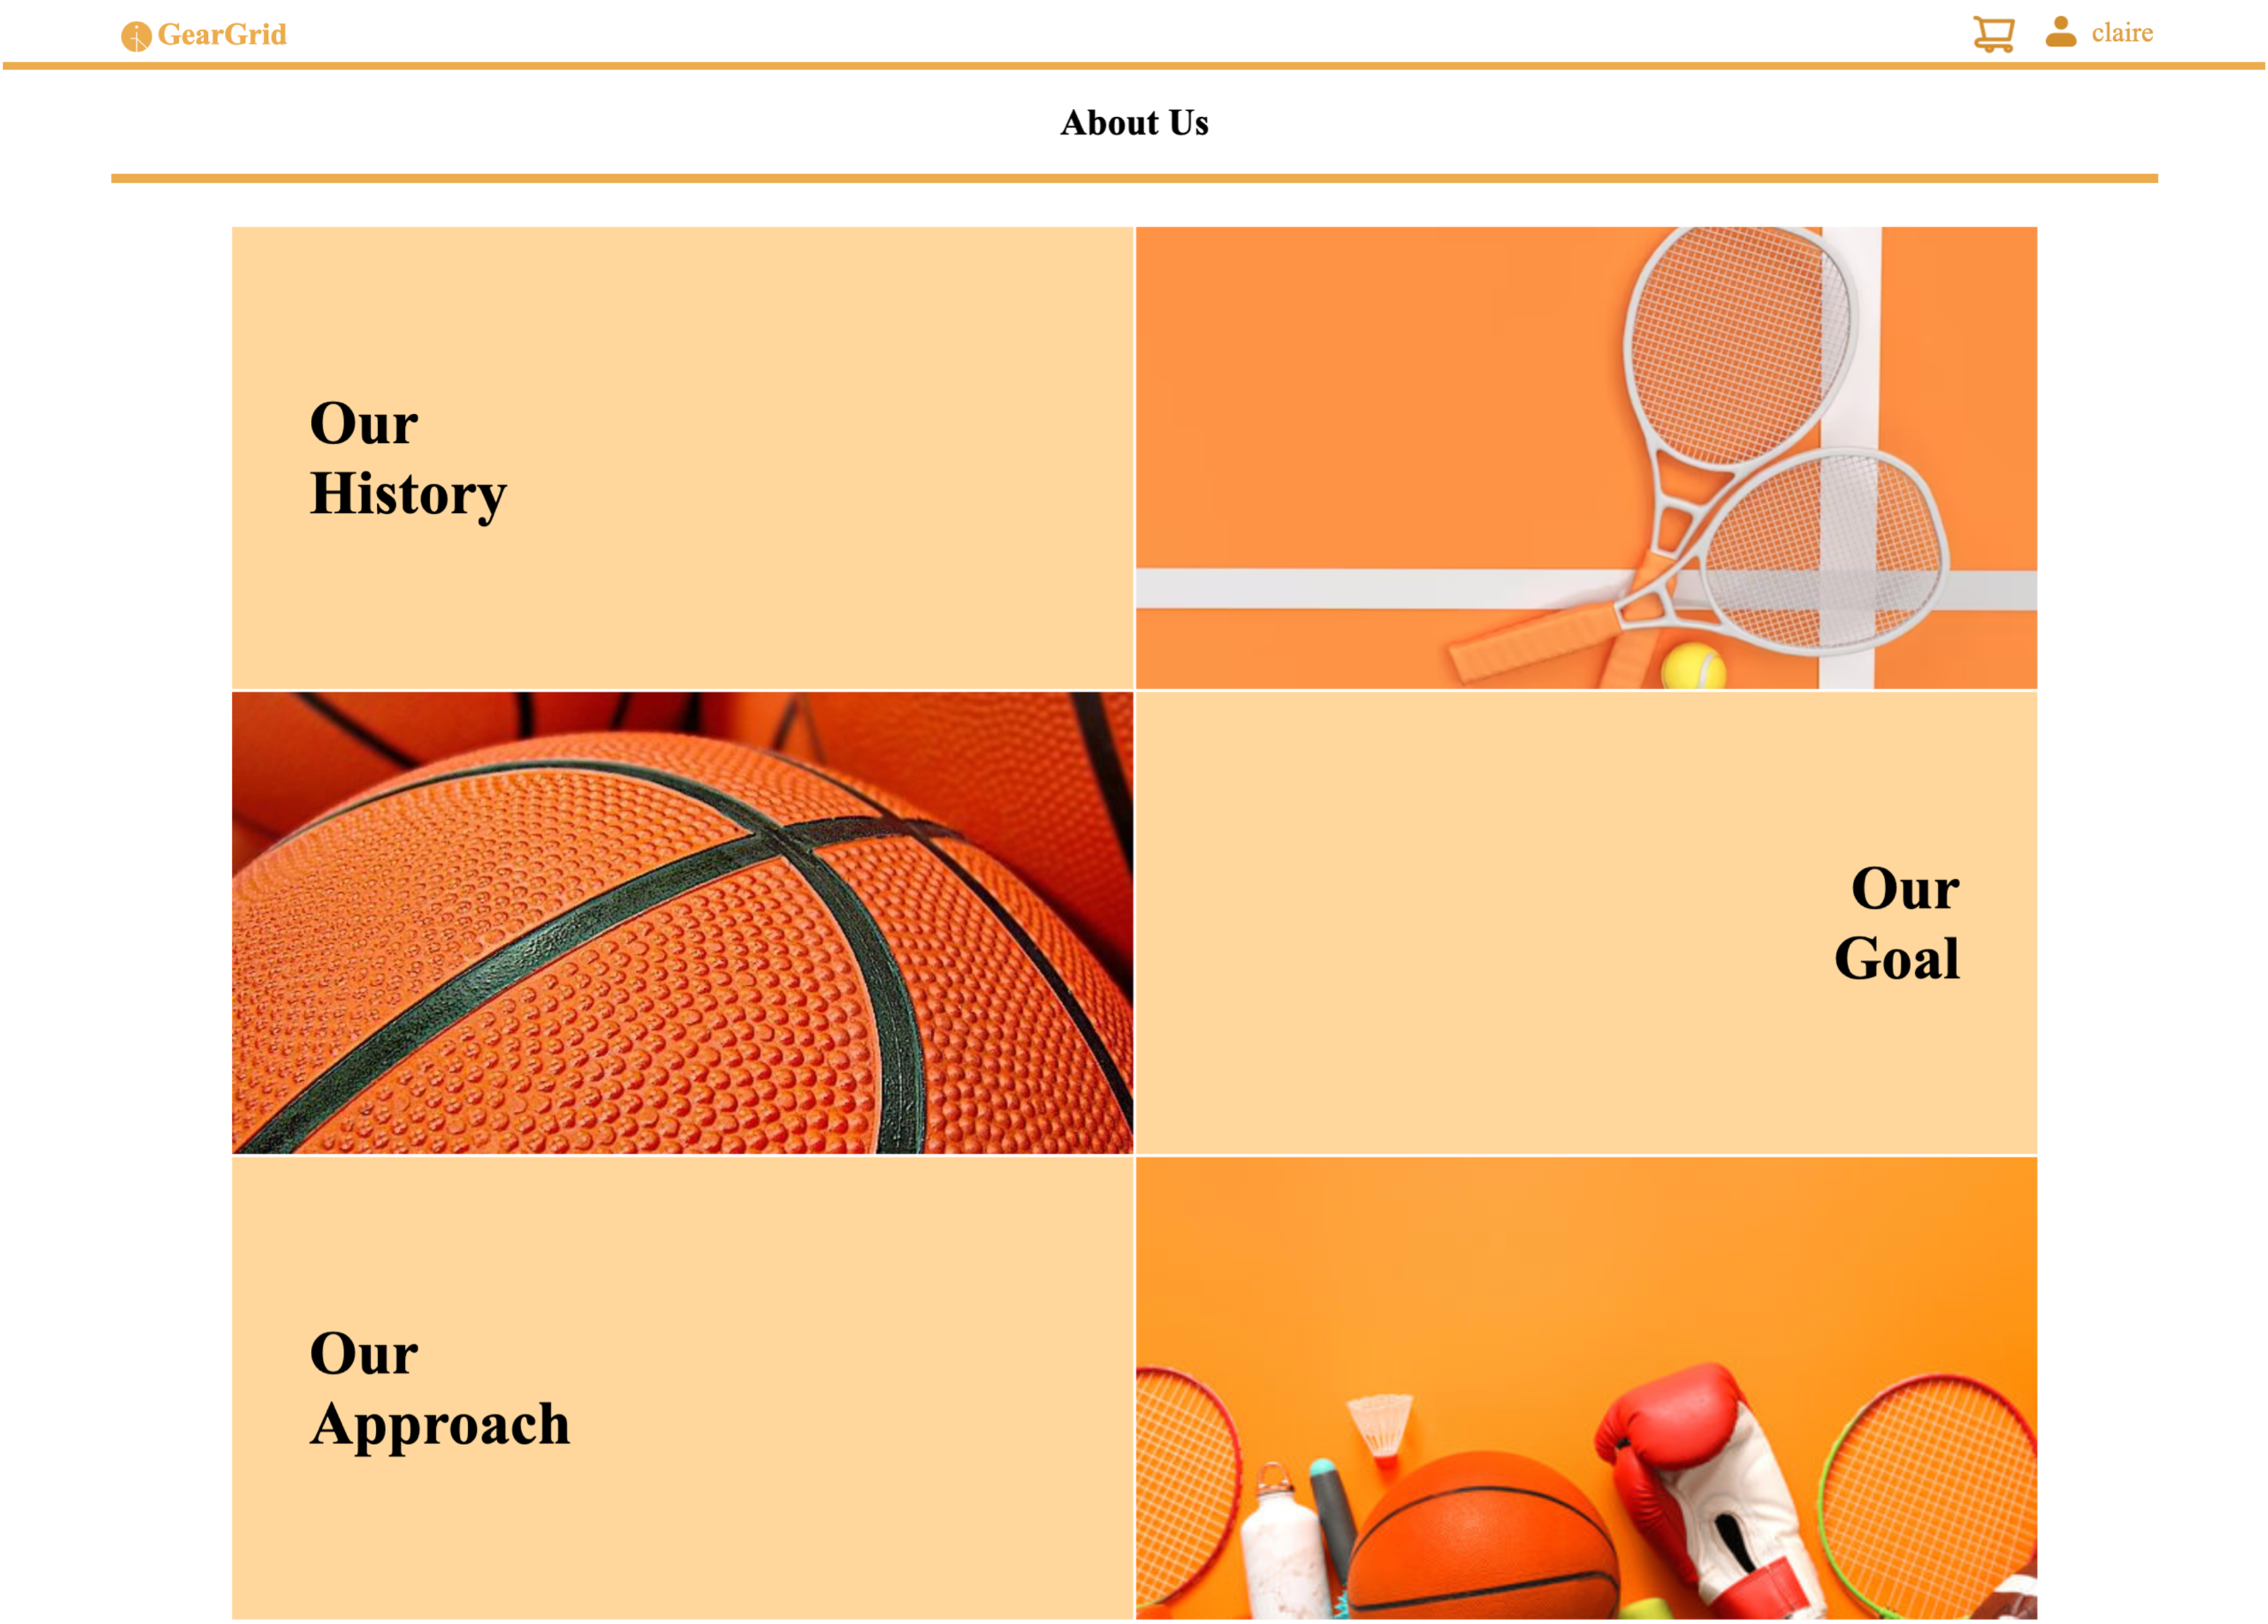
5. About Us Page
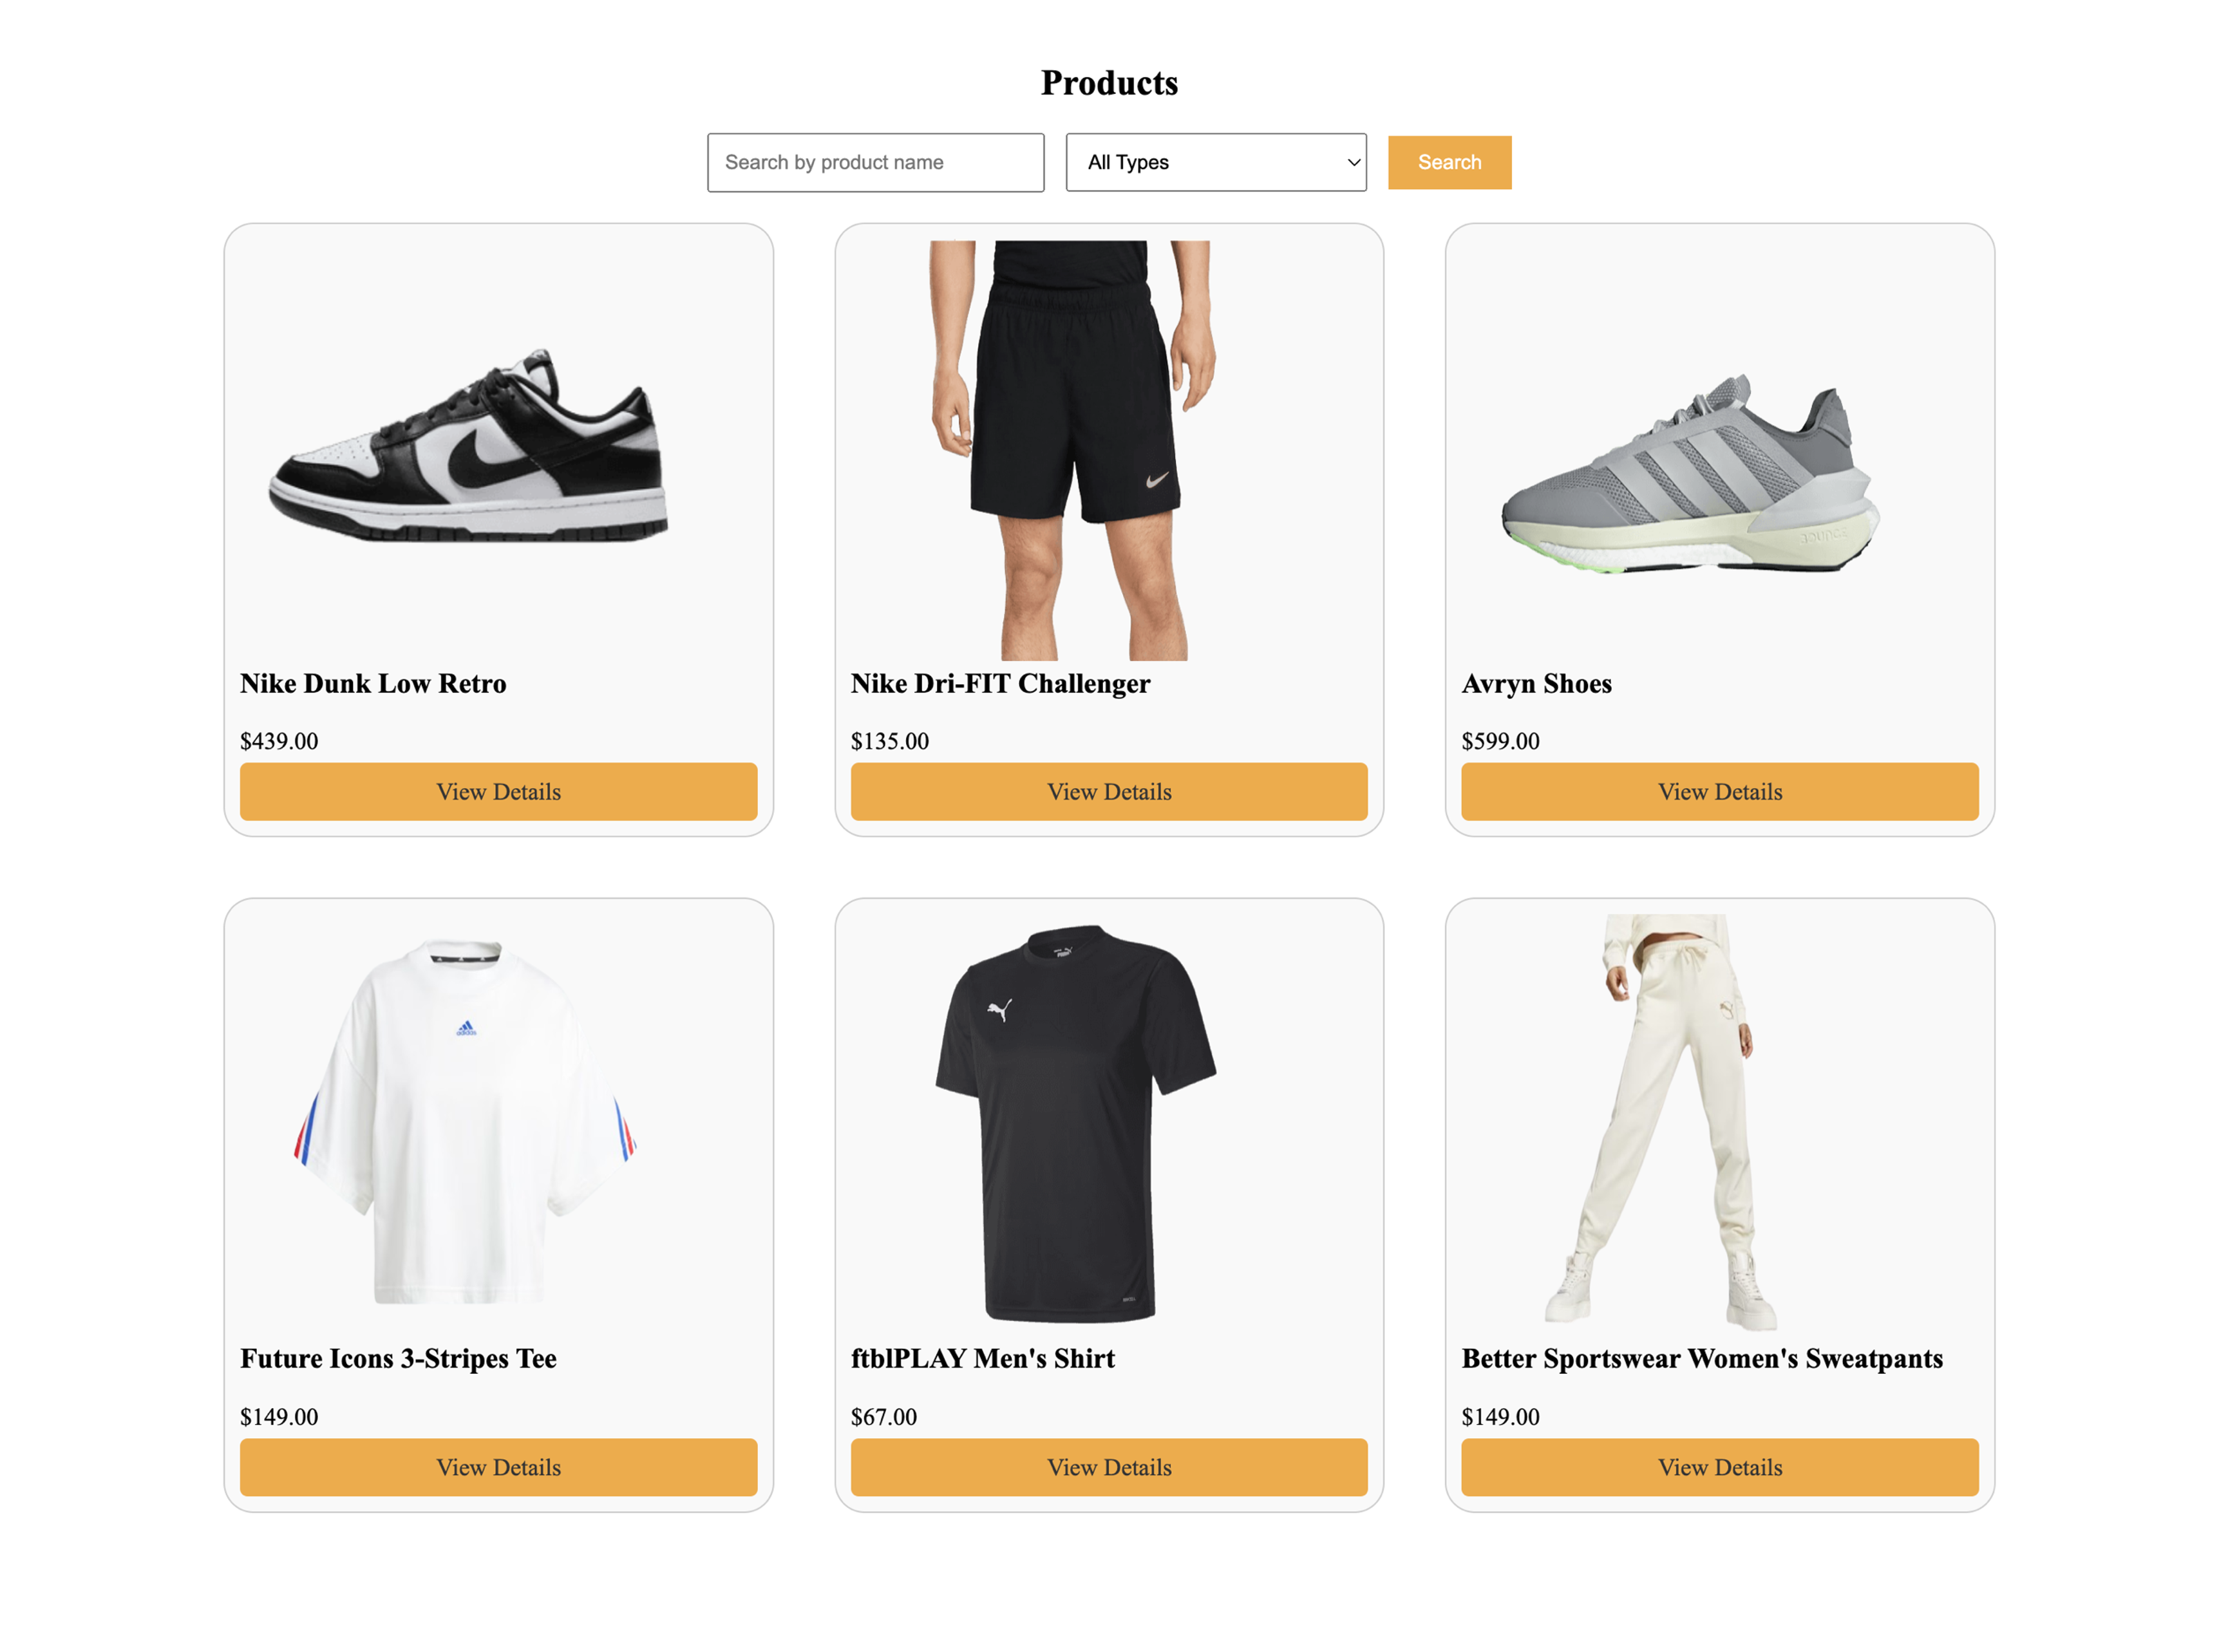
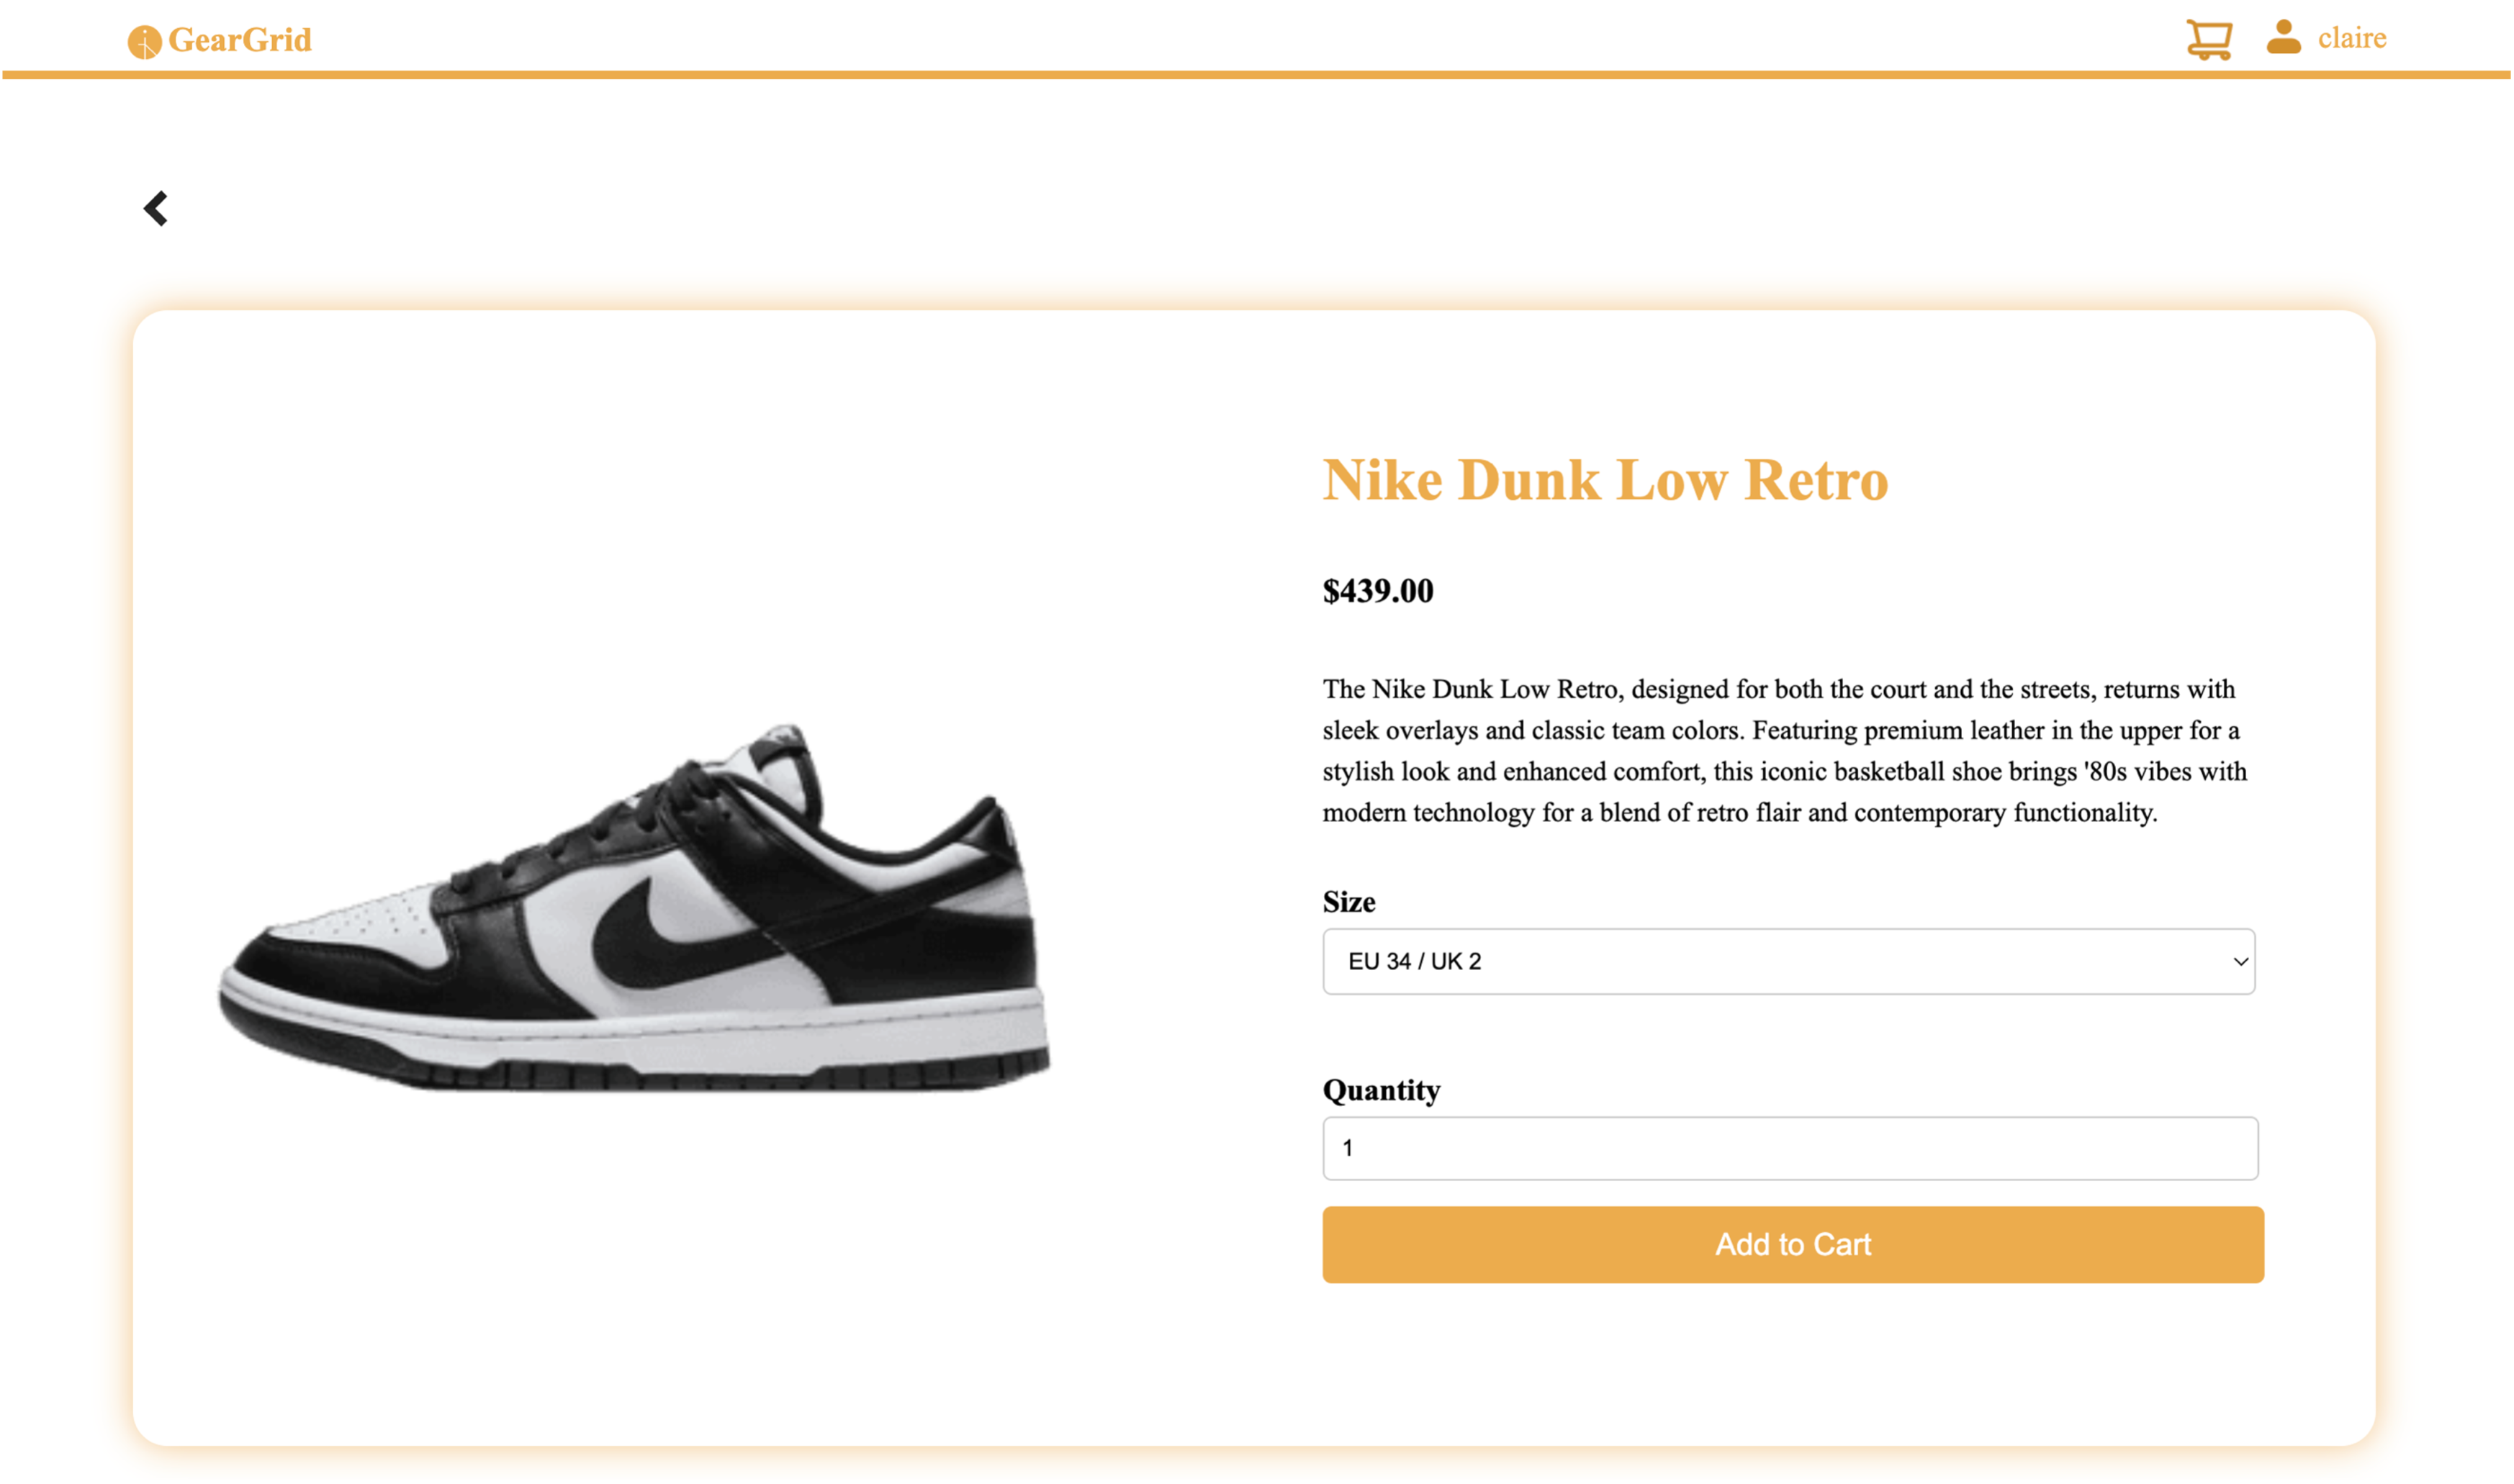
6. Product Page
// Fetch product details from the database
$sql_product = "SELECT * FROM products WHERE id = $product_id";
$result_product = $conn->query($sql_product);
// Display product details
<div class="product-container">
<div class="item">
<?php
// Define available sizes
$sizes = [
'34' => 'EU 34 / UK 2',
'35' => 'EU 35 / UK 2.5',
'36' => 'EU 36 / UK 3.5',
'37' => 'EU 37 / UK 4',
'38' => 'EU 38 / UK 5',
'39' => 'EU 39 / UK 6',
'40' => 'EU 40 / UK 6.5',
'41' => 'EU 41 / UK 7.5',
'42' => 'EU 42 / UK 8',
'43' => 'EU 43 / UK 9',
'44' => 'EU 44 / UK 9.5',
'45' => 'EU 45 / UK 10.5',
'46' => 'EU 46 / UK 11',
'47' => 'EU 47 / UK 12',
'48' => 'EU 48 / UK 13',
];
// Display product details
while ($row = $result_product->fetch_assoc()) : ?>
<div class="product-description">
<div class="product-image">
<img src="<?= htmlspecialchars($row["image_path"]) ?>" alt="<?= htmlspecialchars($row["name"]) ?>">
</div>
<div class="product-details">
<h2><?= htmlspecialchars($row["name"]) ?></h2>
<p id="price">$<?= number_format($row["price"], 2) ?></p>
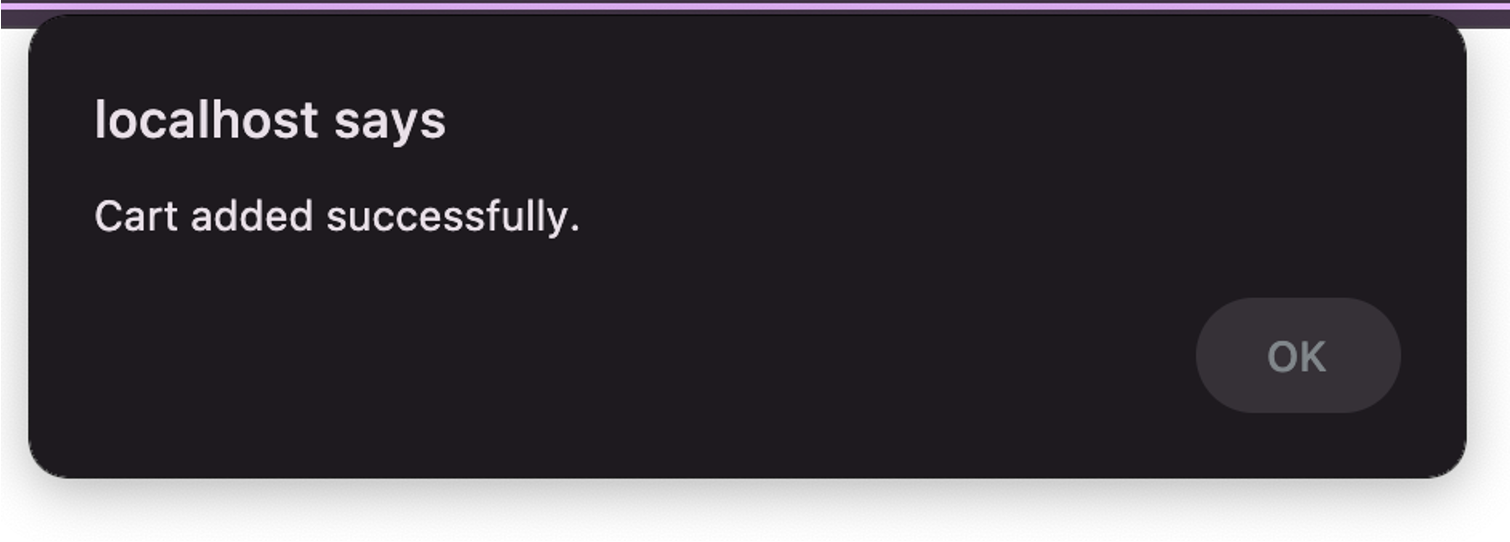
<p>The Nike Dunk Low Retro, designed for both the court and the streets, returns with sleek overlays and classic team colors. Featuring premium leather in the upper for a stylish look and enhanced comfort, this iconic basketball shoe brings '80s vibes with modern technology for a blend of retro flair and contemporary functionality.</p>
<h5>Size</h5>
<form method="post">
<div class="size">
<select name="size" id="size">
<?php foreach ($sizes as $value => $label) : ?>
<option value="<?= $value ?>"><?= $label ?></option>
<?php endforeach; ?>
</select>
</div>
<h5>Quantity</h5>
<div class="quantity">
<input type="number" id="quantity" name="quantity" min="1" value="1">
</div>
<button type="submit" name="add_to_cart">Add to Cart</button>
</form>
</div>
</div>
<?php endwhile; ?>
</div>
</div>For each product, PHP retrieves data from the database and displays its details on the screen.
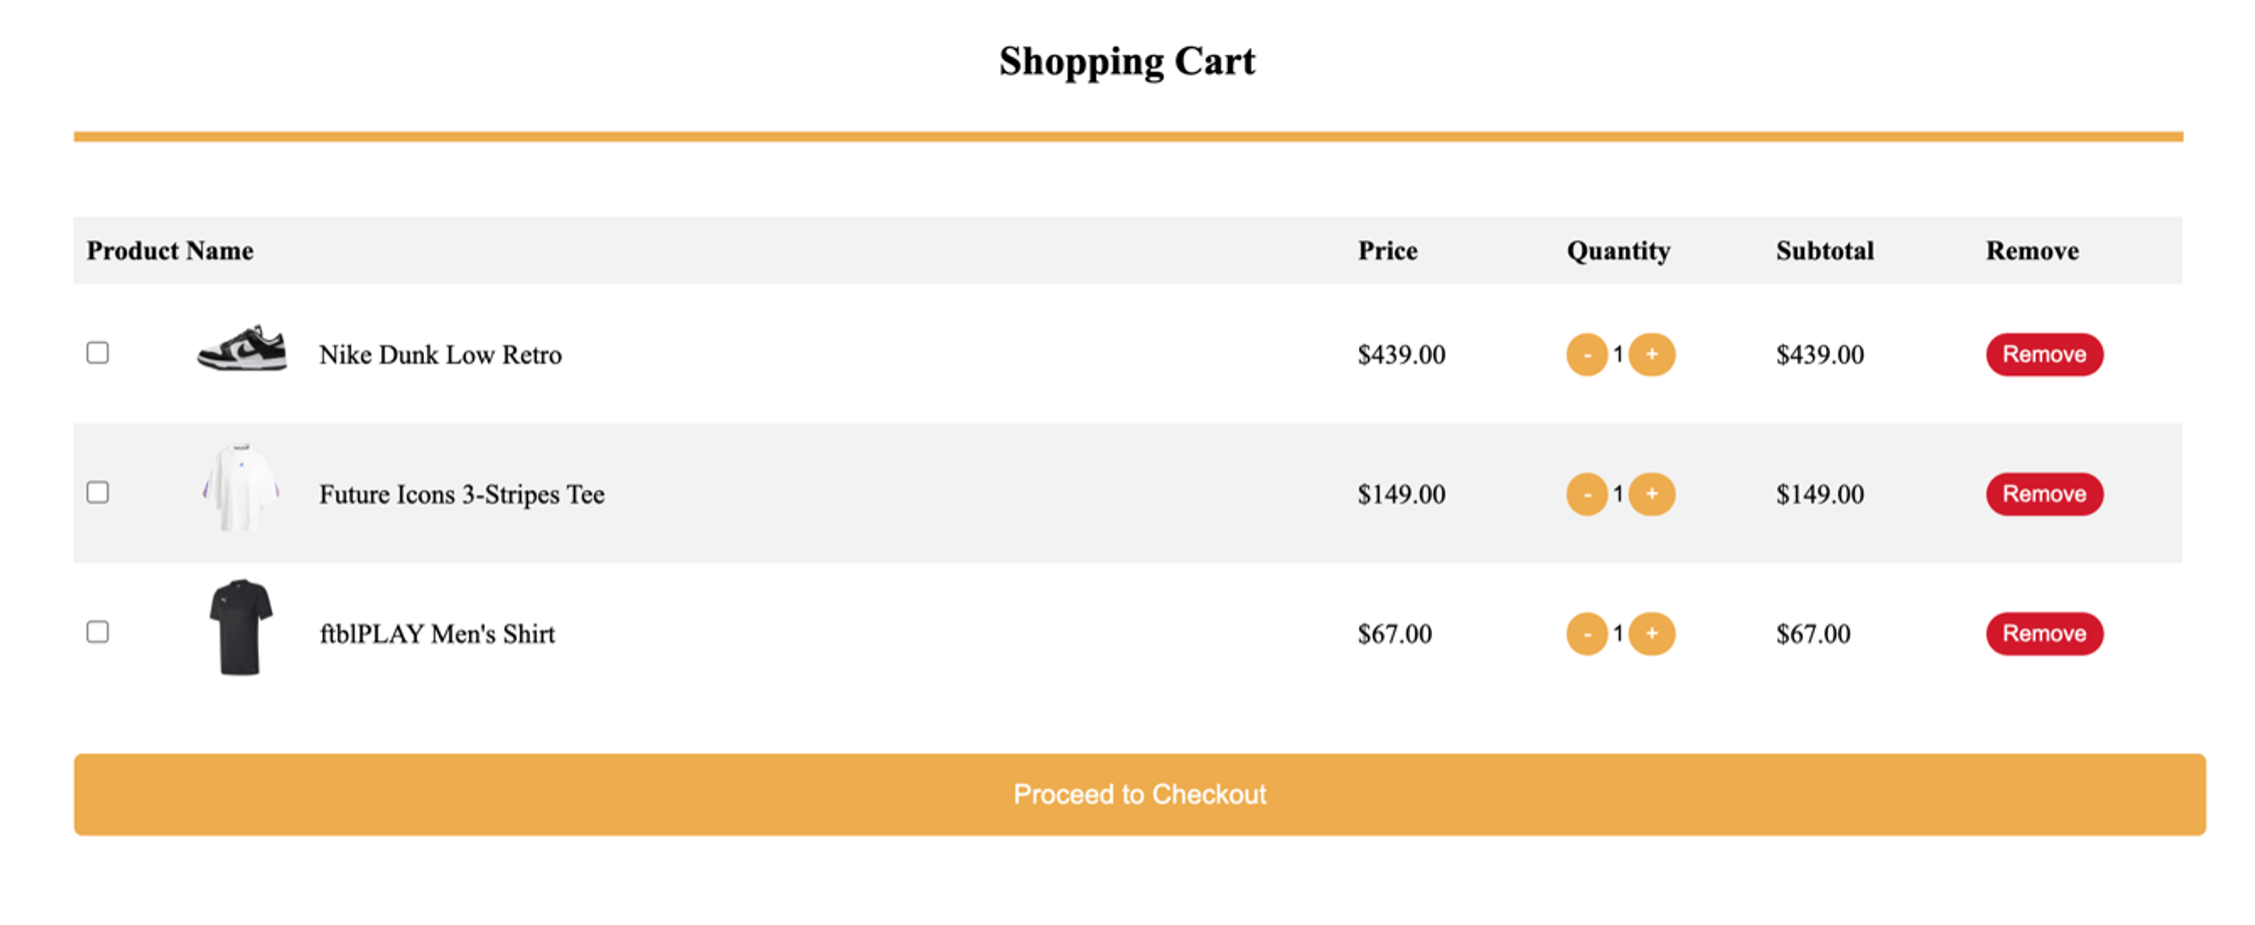
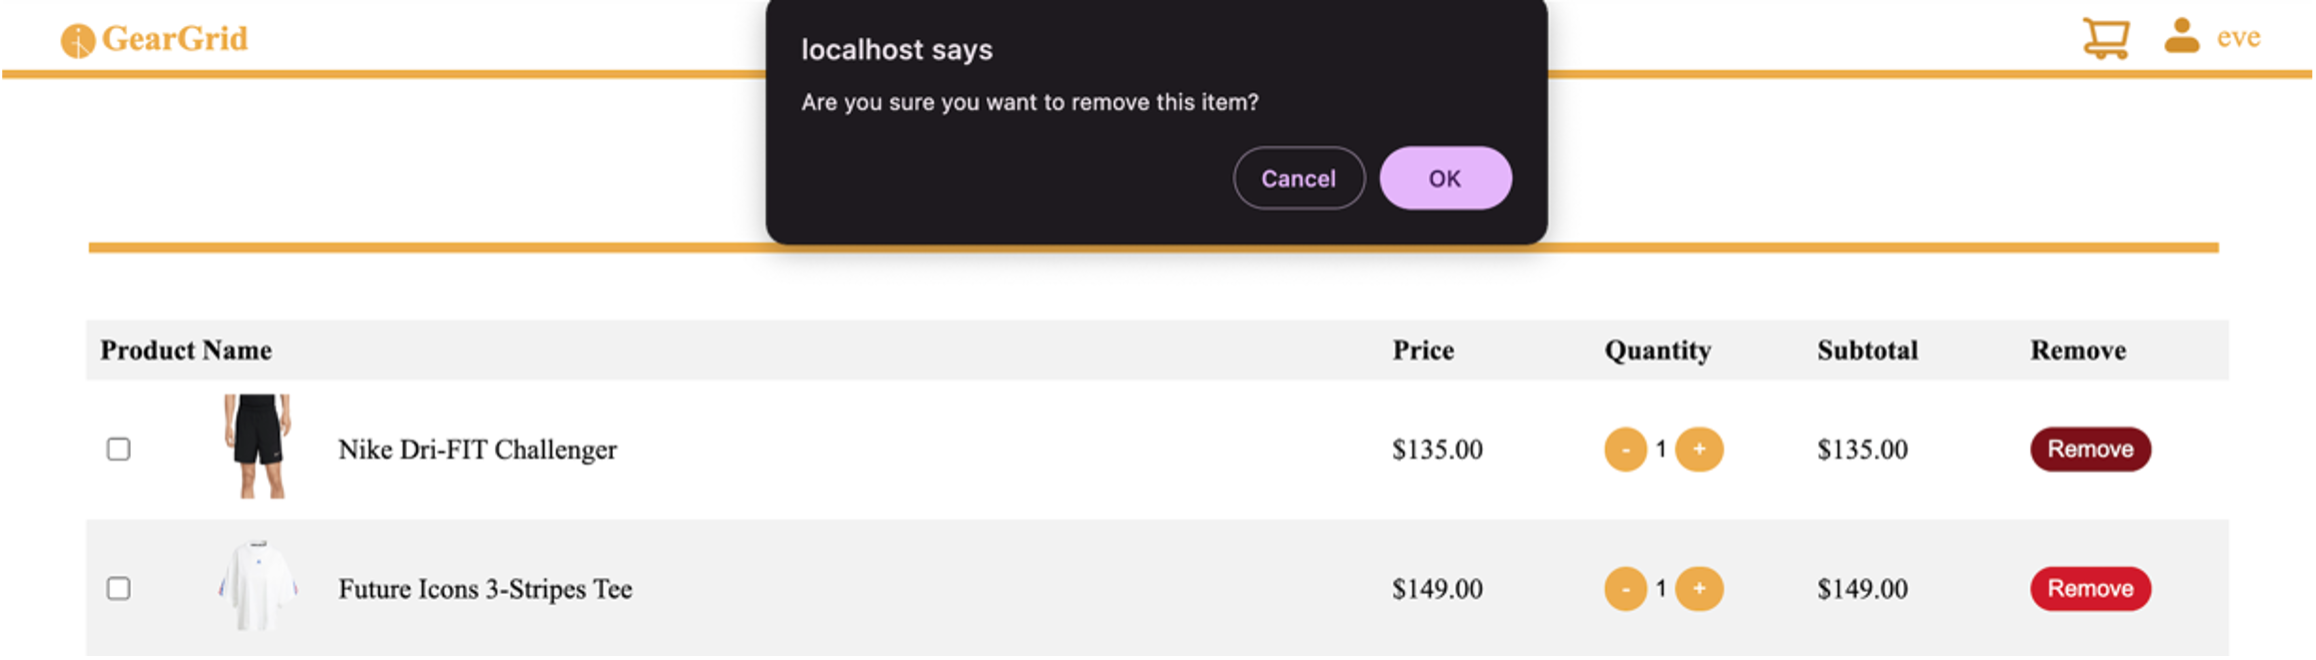
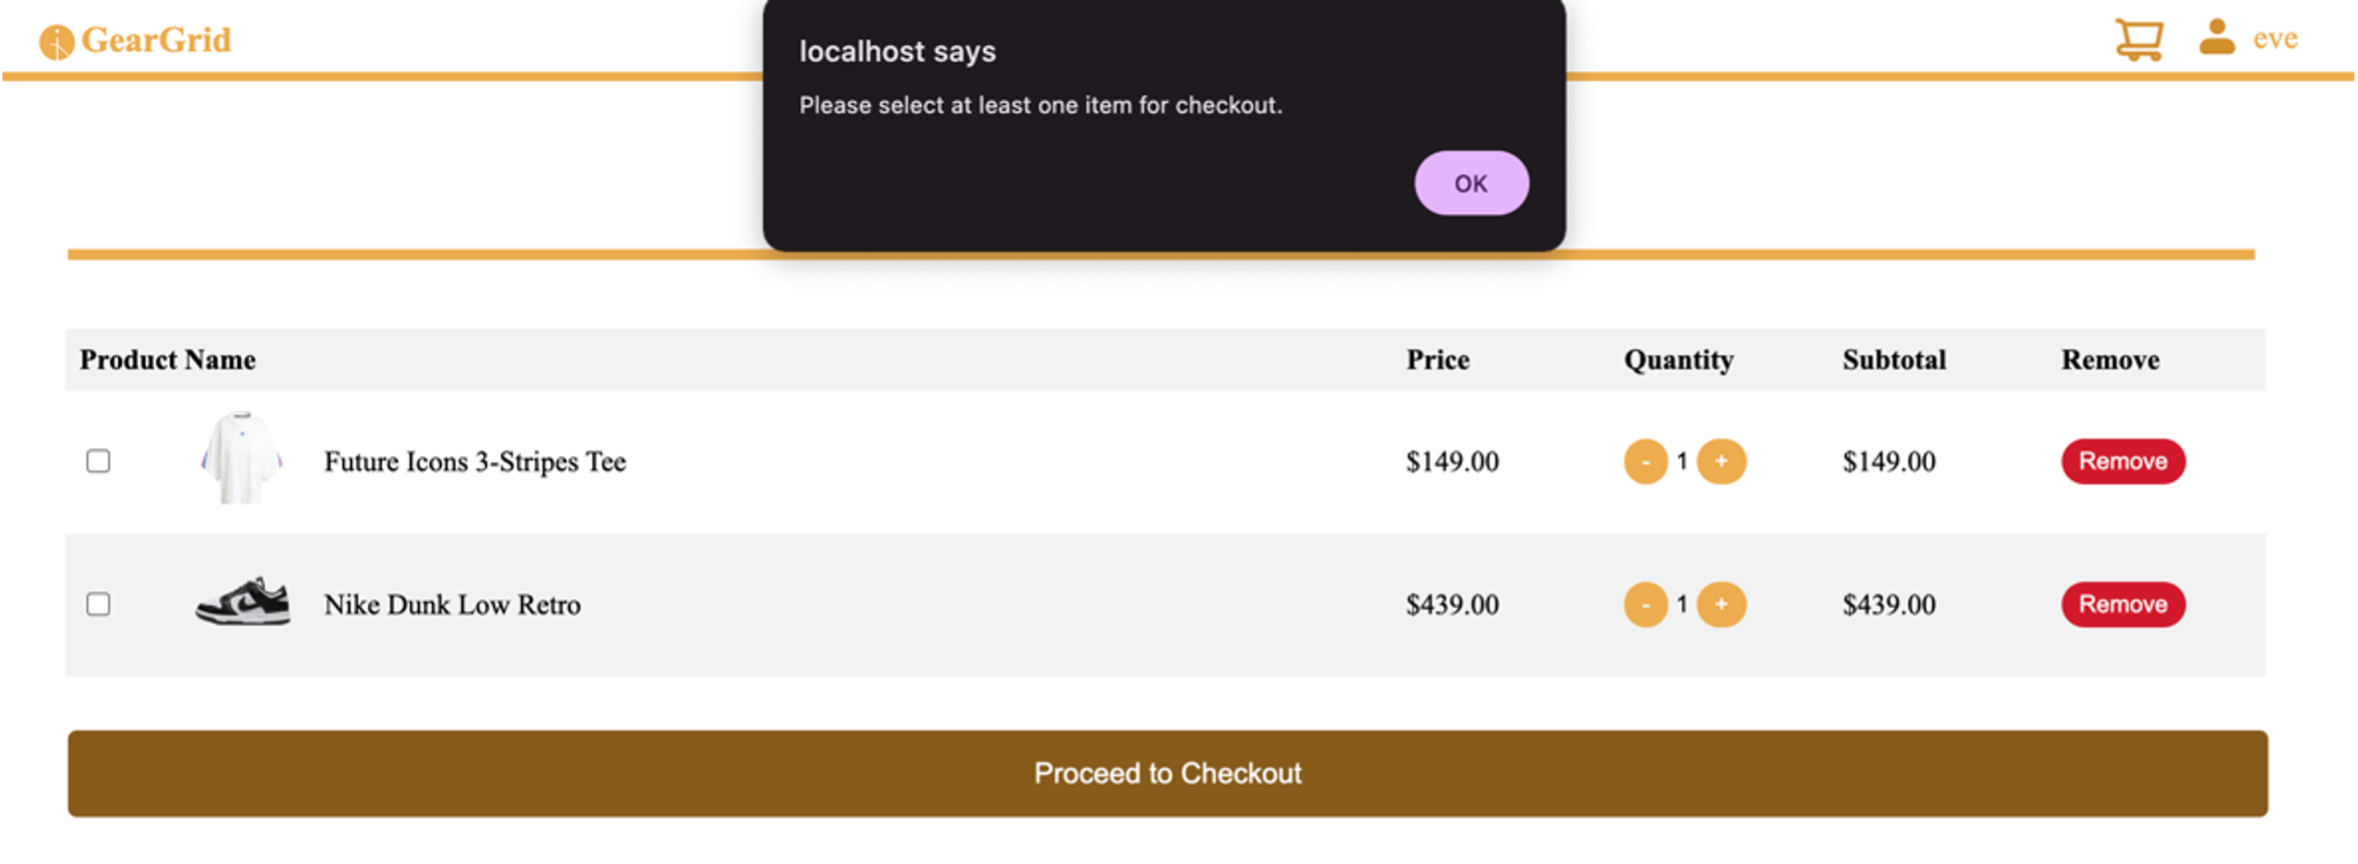
7. Cart Page
<tbody>
    <?php
    $totalProducts = 0;
    $totalPrice = 0;

    if ($result_cart->num_rows > 0):
        while ($row = $result_cart->fetch_assoc()):
            $subtotal = $row['quantity'] * $row['product_price'];
            $productId = htmlspecialchars($row['id']);
            $productImage = htmlspecialchars($row['product_image']);
            $productName = htmlspecialchars($row['product_name']);
            $productPrice = number_format($row['product_price'], 2);
            $productQuantity = htmlspecialchars($row['quantity']);
            $subtotalFormatted = number_format($subtotal, 2);
            ?>
            <tr>
                <td width="5%"><input type="checkbox" name="checkout_items[]" value="<?= $productId ?>"></td>
                <td width="5%"><img src="<?= $productImage ?>" alt="<?= $productName ?>"></td>
                <td><?= $productName ?></td>
                <td>$<?= $productPrice ?></td>
                <td>
                    <button type="button" onclick="updateQuantity(<?= $productId ?>, -1)">-</button>
                    <input size="1" type="text" id="quantity_<?= $productId ?>" name="quantity[<?= $productId ?>]" value="<?= $productQuantity ?>">
                    <button type="button" onclick="updateQuantity(<?= $productId ?>, 1)">+</button>
                </td>
                <td>$<?= $subtotalFormatted ?></td>
                <td><button type="button" onclick="removeItem(<?= $productId ?>)" class="remove-button">Remove</button></td>
            </tr>
            <?php
            $totalProducts += $row['quantity'];
            $totalPrice += $subtotal;
        endwhile;
    else: ?>
        <tr>
            <td colspan="7" style="text-align: center;">Your cart is empty.</td>
        </tr>
    <?php endif; ?>
</tbody>
For the cart page, the code iterates over each item in the cart retrieved from the result set and calculates the and .
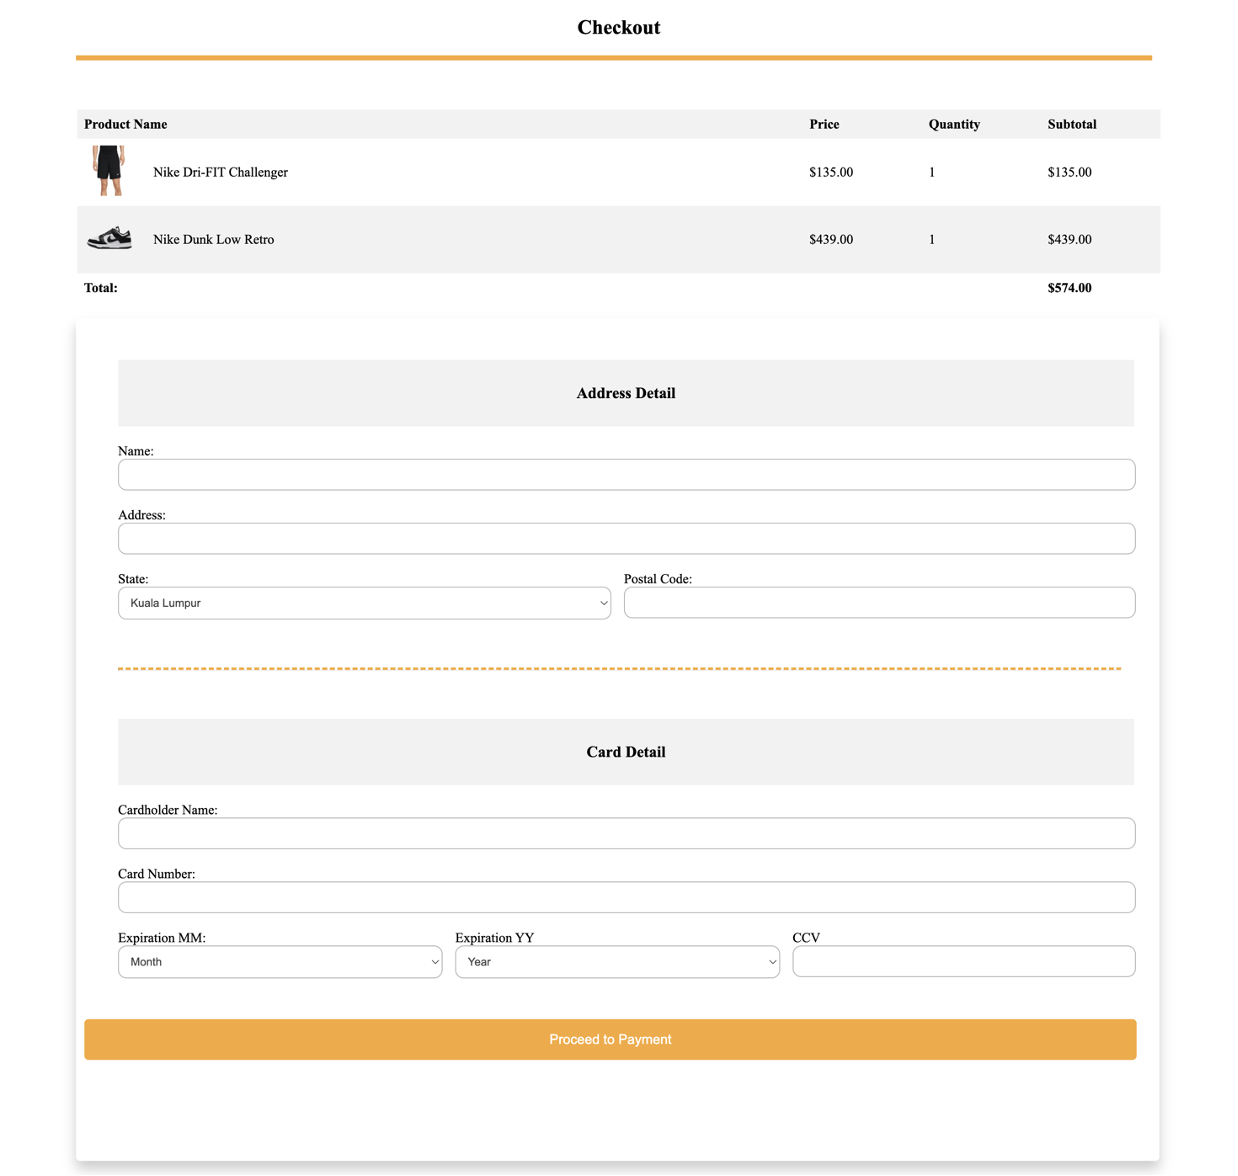
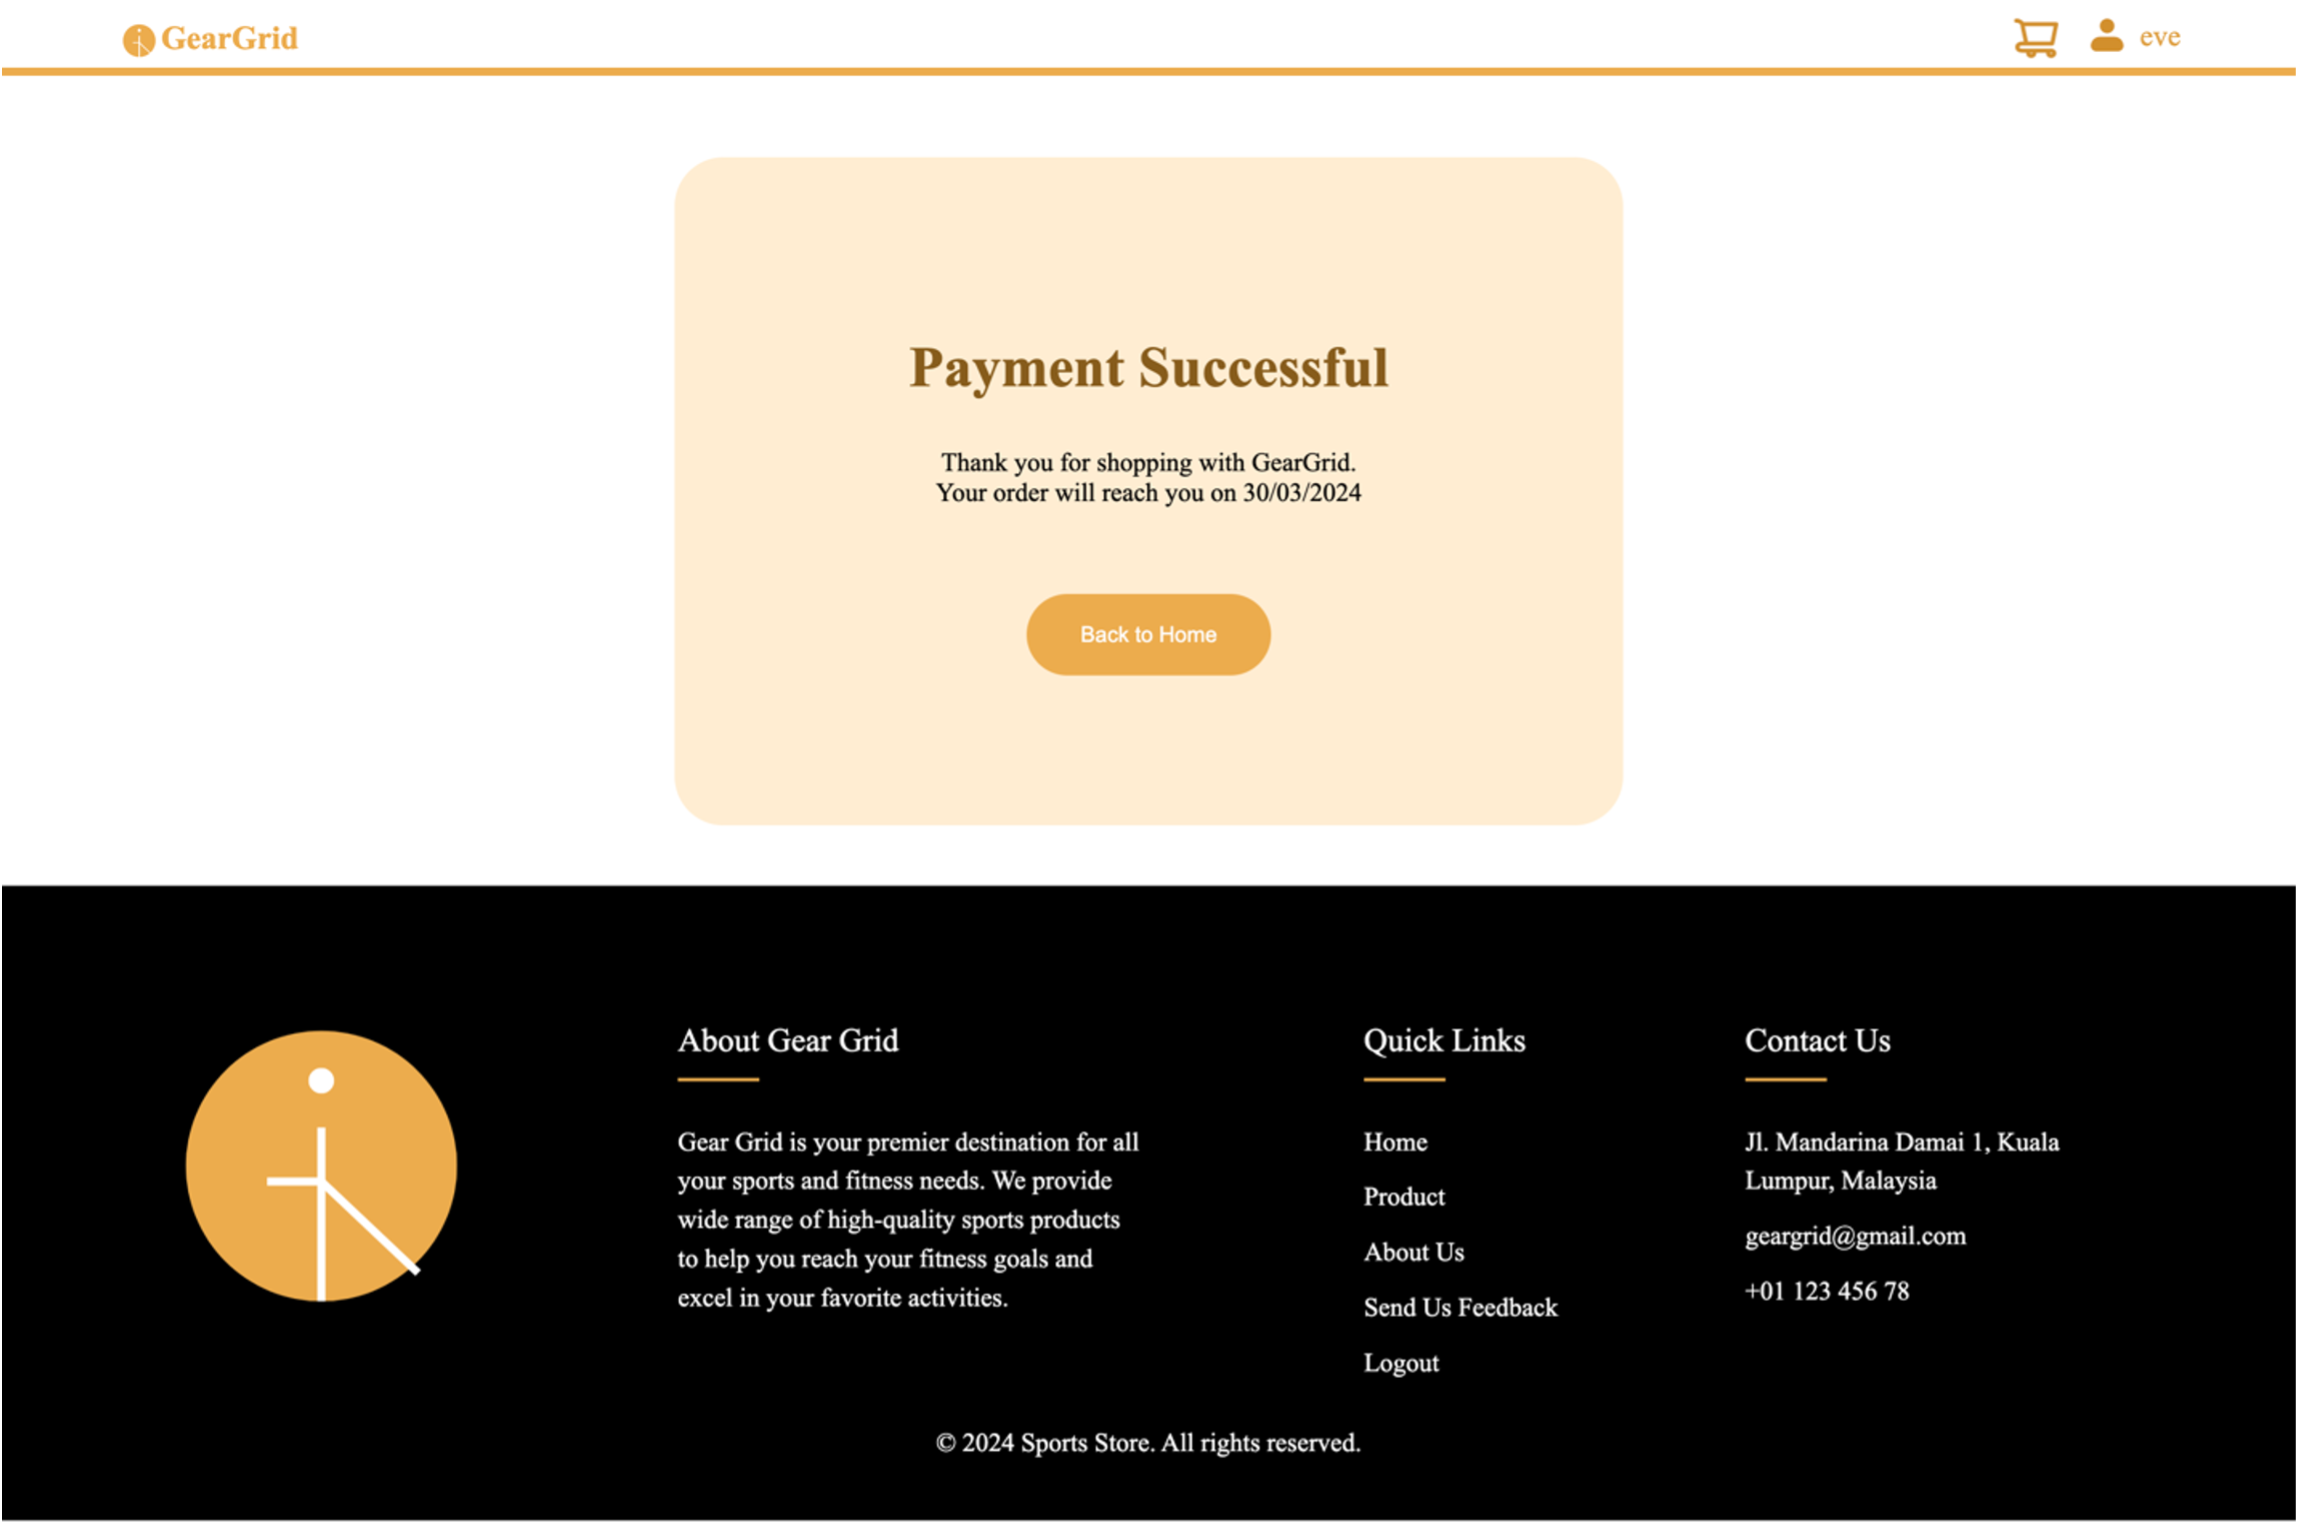
8. Checkout and Payment Page
function validateForm(event) {
    const cardNumber = document.getElementById('cnum').value;
    const expirationDate = document.getElementById('expiry').value;
    const cvc = document.getElementById('cvv').value;
    const postal = document.getElementById('postal').value;

    const cardNumberError = document.getElementById('card-number-error');
    const expirationDateError = document.getElementById('expiration-date-error');
    const cvcError = document.getElementById('cvc-error');
    const postalError = document.getElementById('postal-error');

    cardNumberError.textContent = '';
    expirationDateError.textContent = '';
    cvcError.textContent = '';
    postalError.textContent = '';

    let isValid = true;

    if (!/^\d{4}-\d{4}-\d{4}-\d{4}$/.test(cardNumber)) {
        cardNumberError.textContent = 'Invalid Card Number';
        isValid = false;
    }

    if (!/^\d{2}\/\d{4}$/.test(expirationDate)) {
        expirationDateError.textContent = 'Invalid Expiration Date';
        isValid = false;
    }

    if (!/^\d{3}$/.test(cvc)) {
        cvcError.textContent = 'Invalid CVC';
        isValid = false;
    }

    if (!/^\d{5}$/.test(postal)) {
        postalError.textContent = 'Invalid Postal Code';
        isValid = false;
    }

    if (!isValid) {
        event.preventDefault();
    }
    return isValid;
}
During payment, the system will validate the card number, expiration date, CVC, and postal code through . If any data is invalid, the form submission will be blocked.
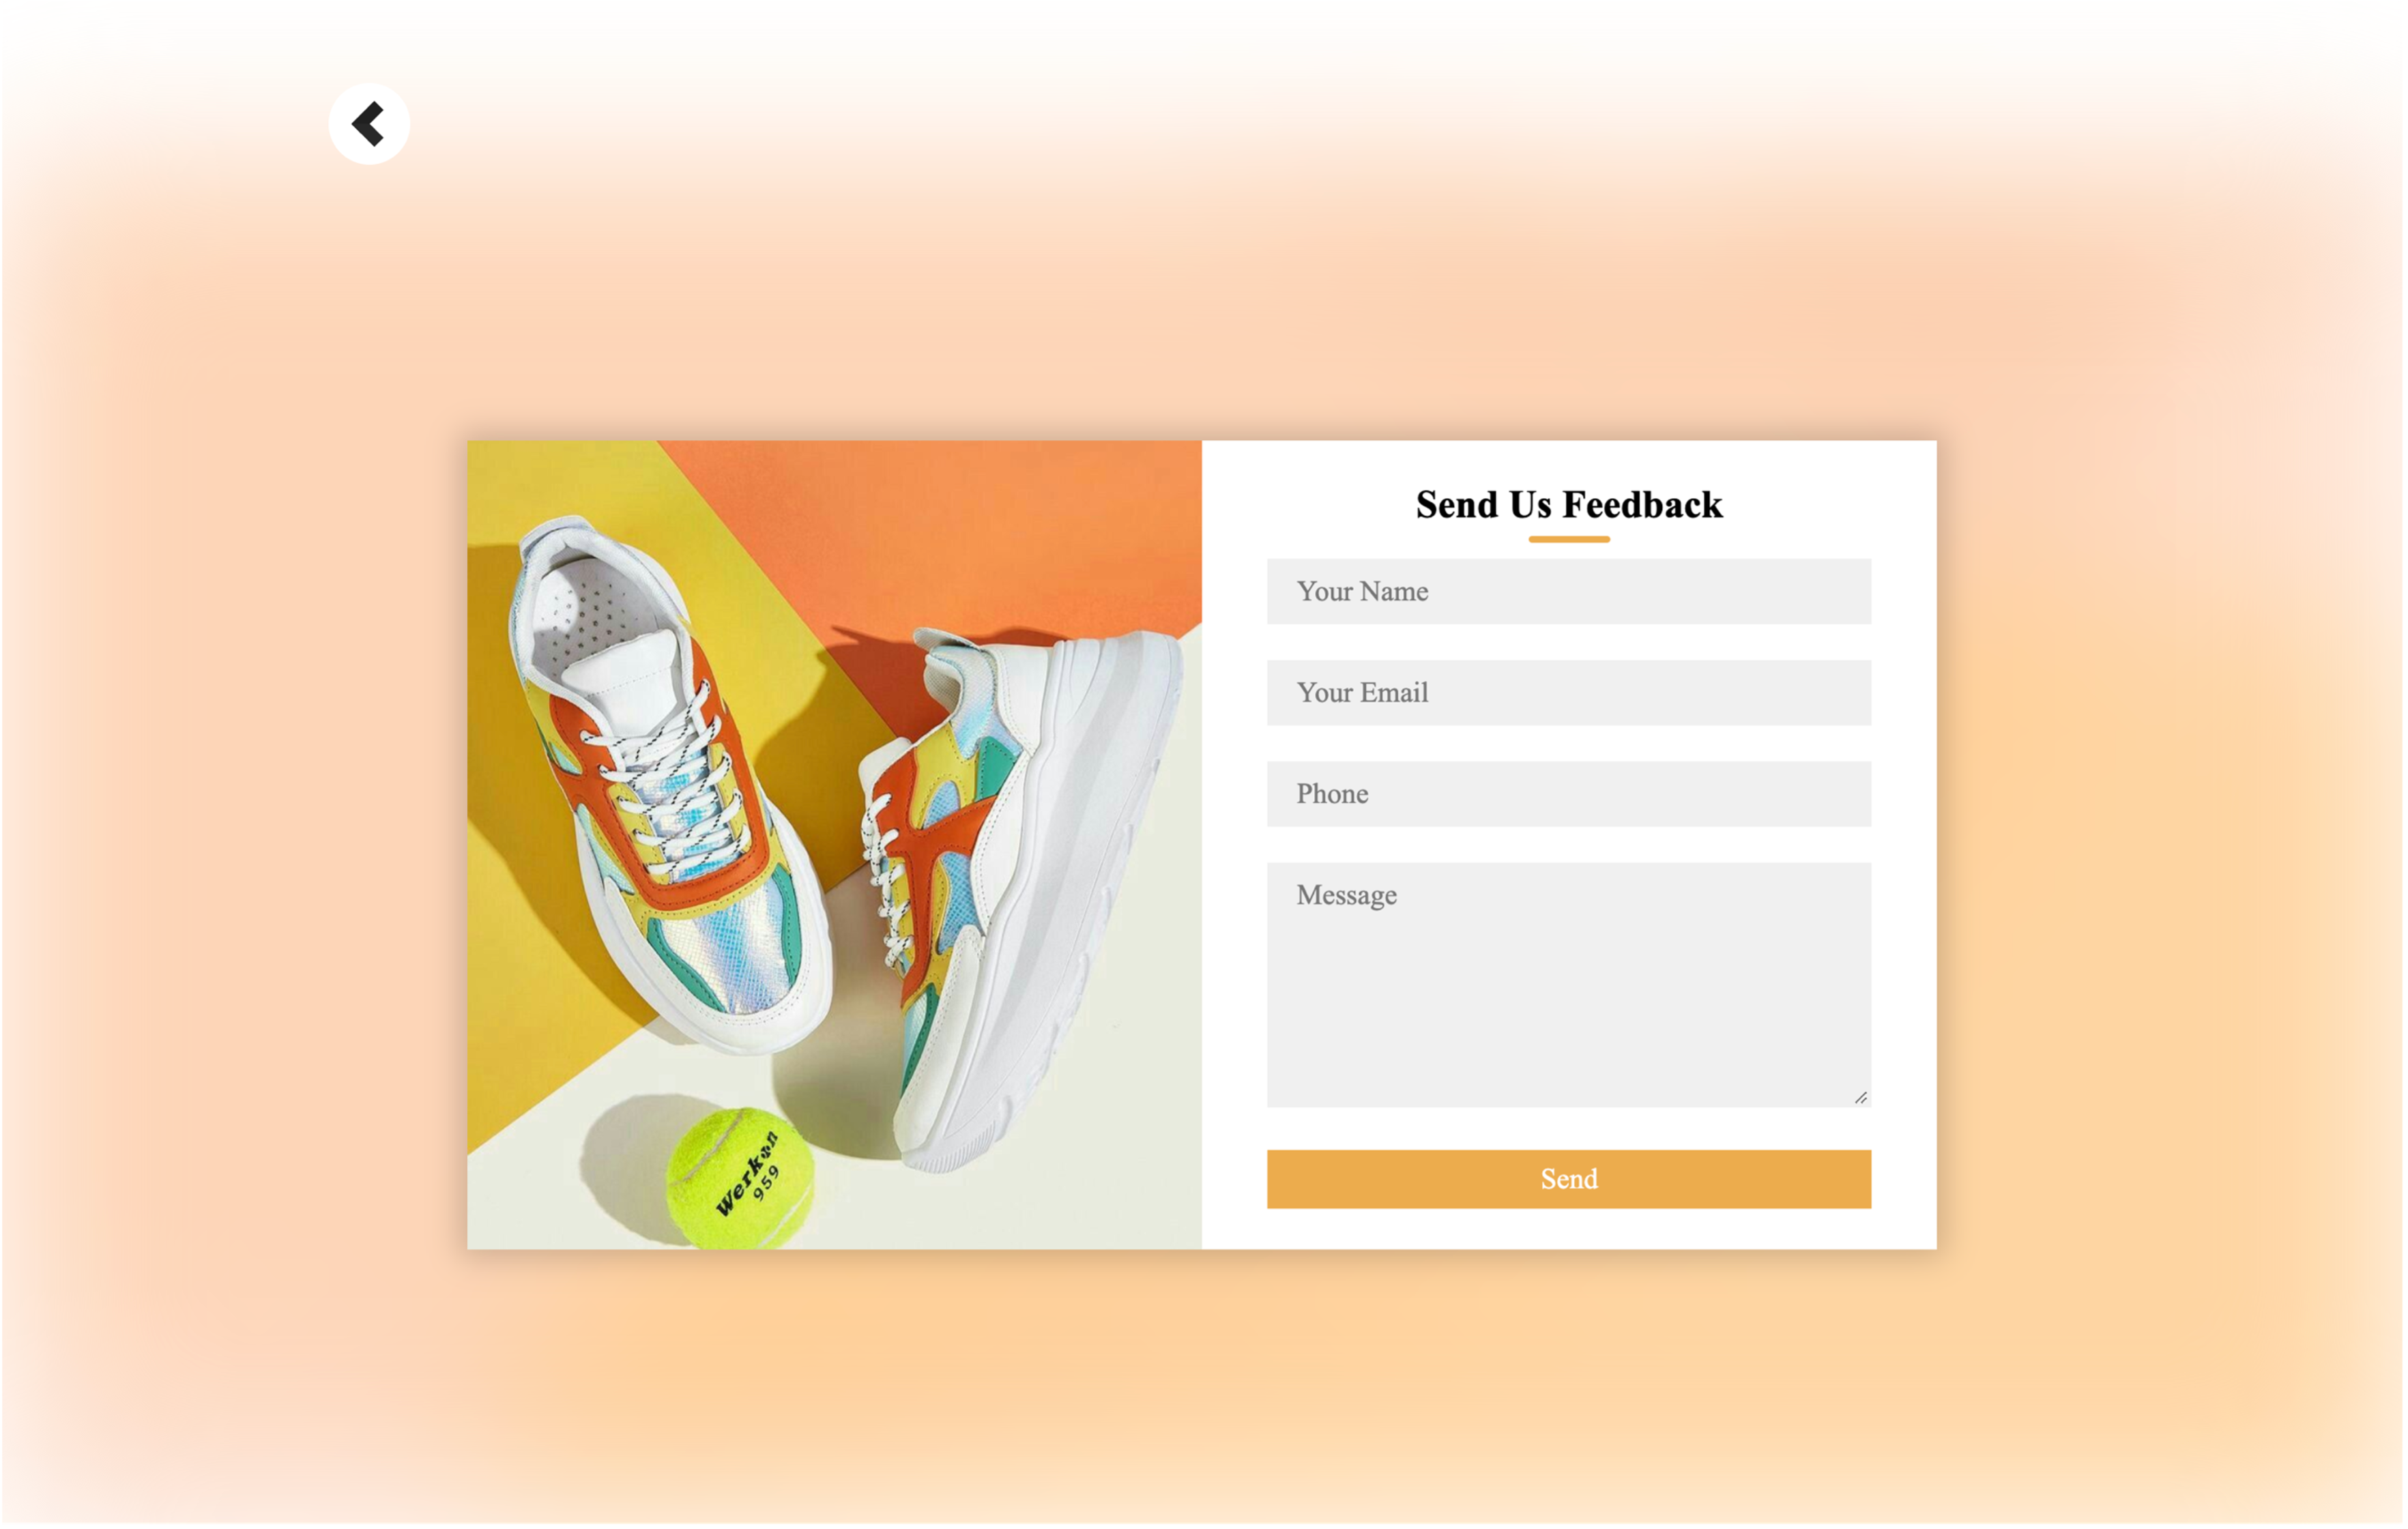
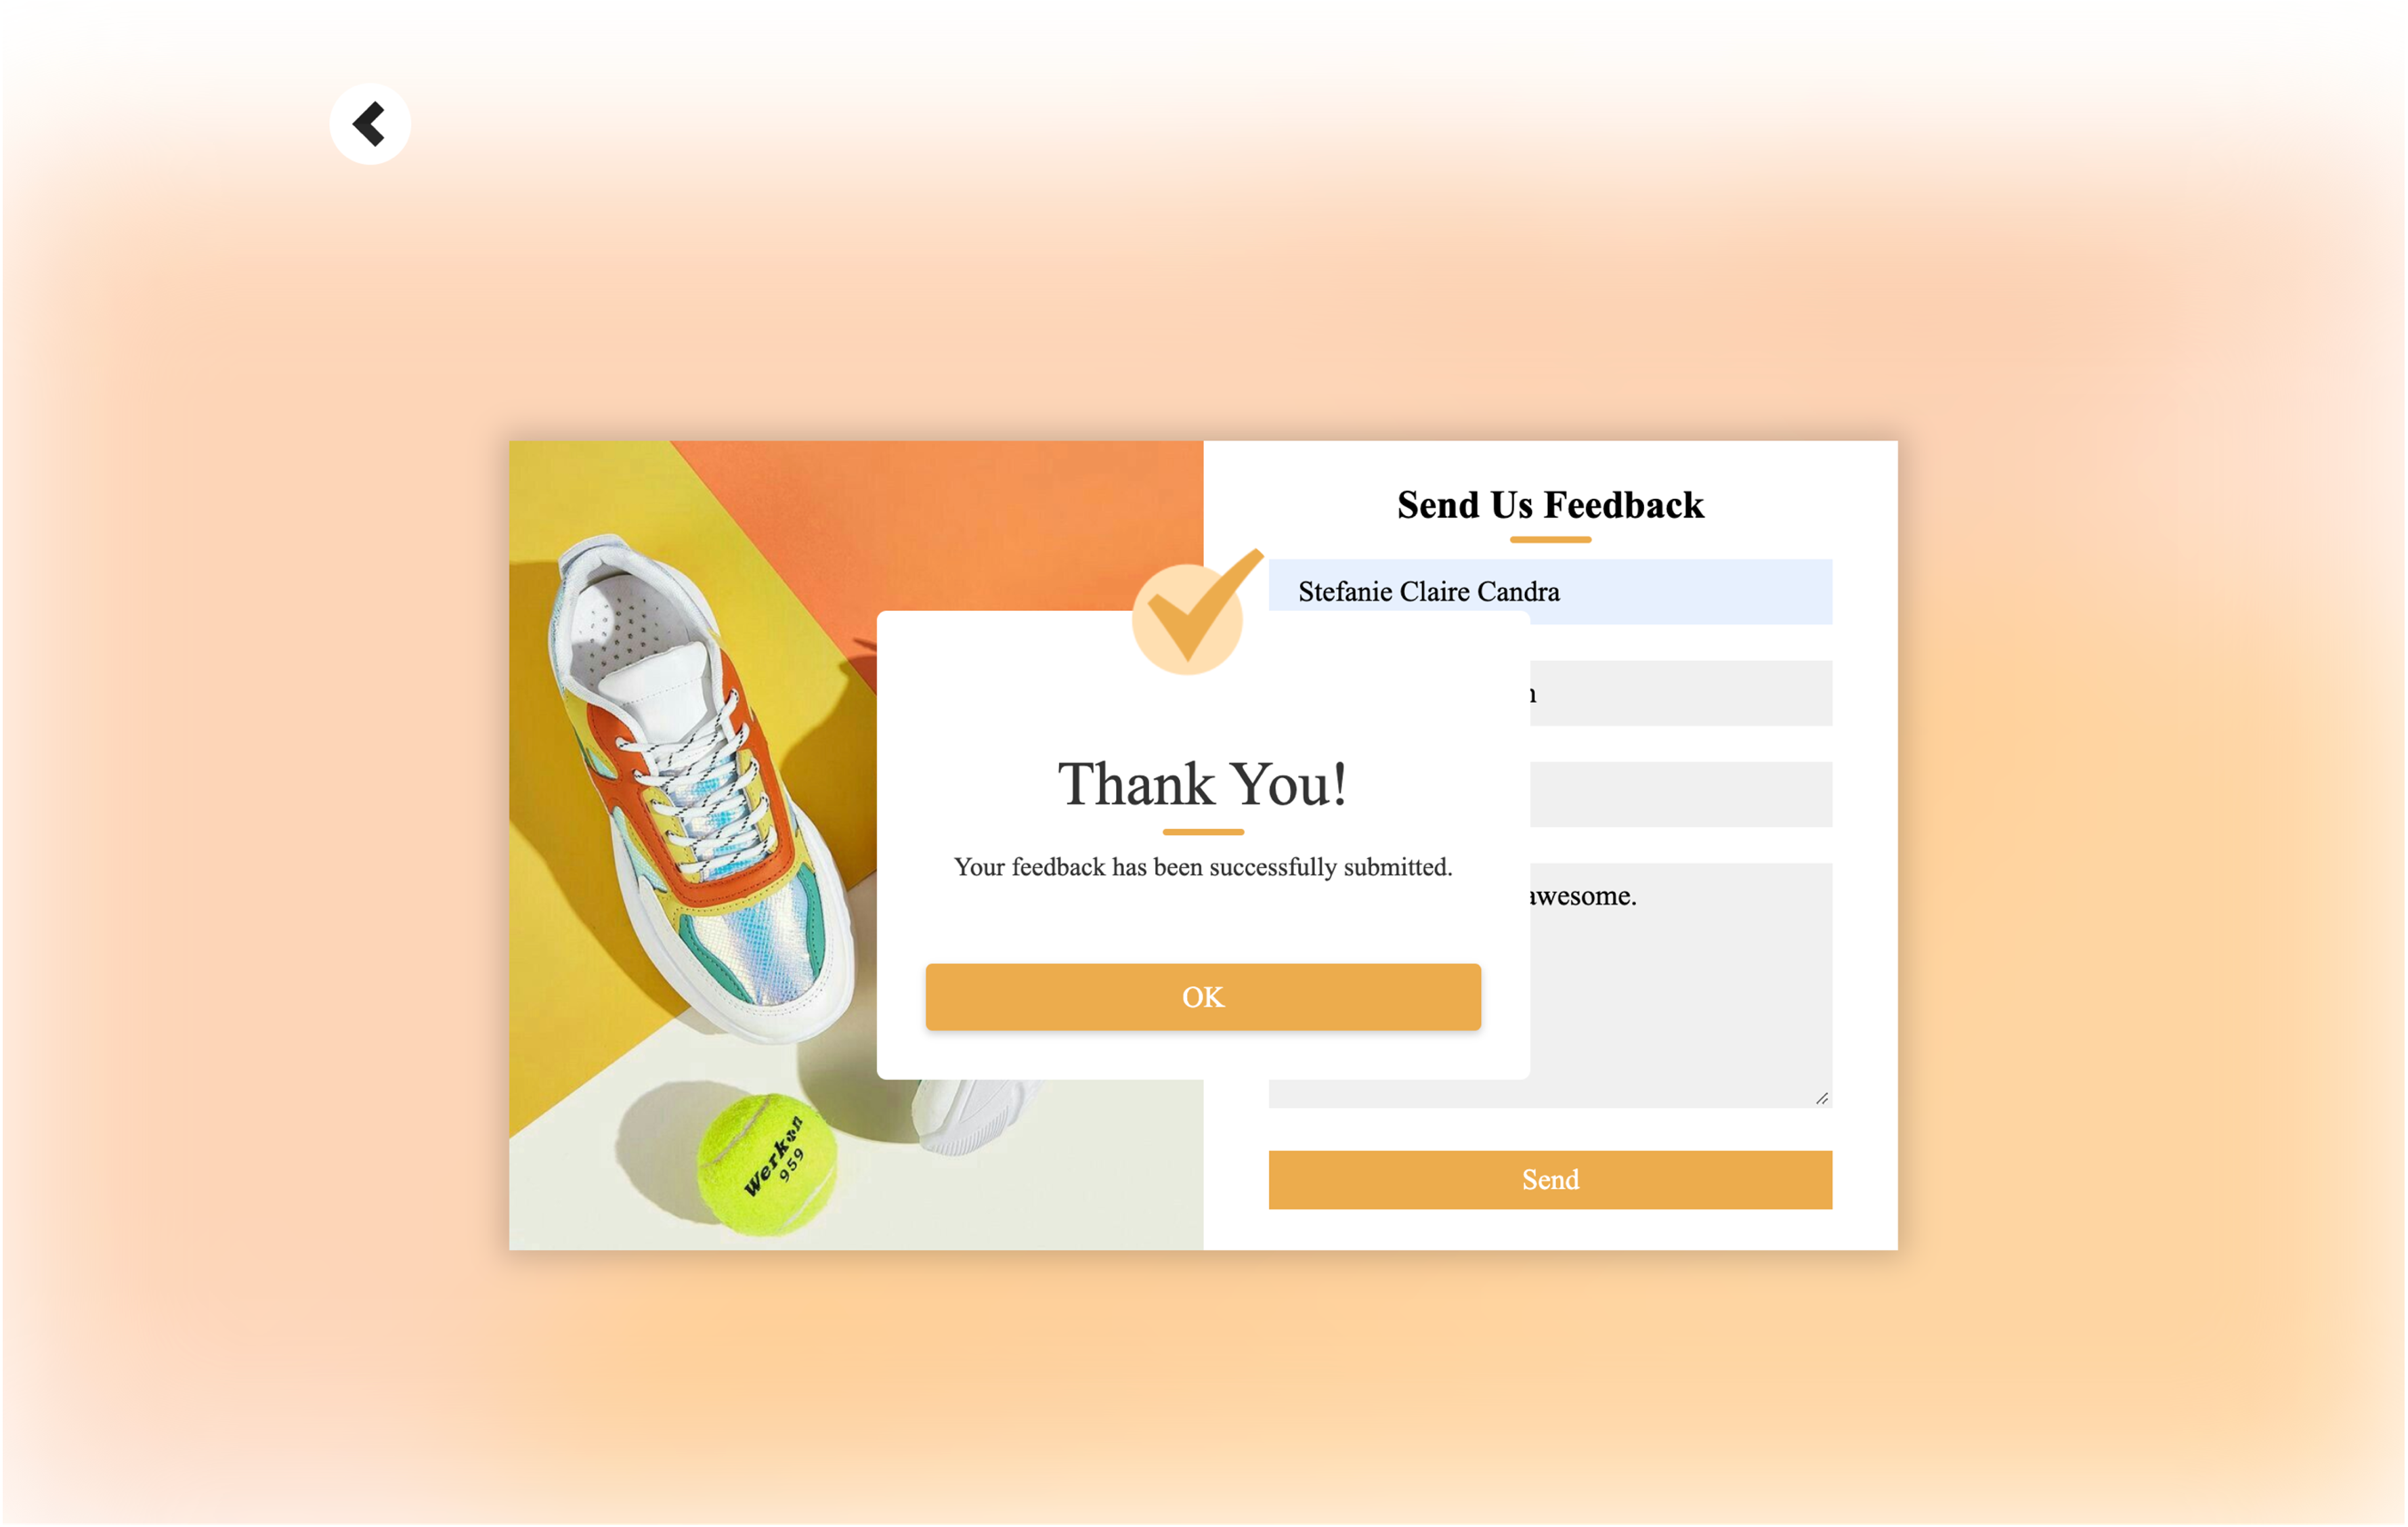
9. Feedback Page
10. Logout Page
Once users are done, they can click Logout in the header drop-down to end their session and return to the login page.
Conclusion
This project was like a crash course in web development! I got my hands dirty with HTML, CSS, PHP, and MySQL to build a working e-commerce site. Plus, I learned how to use session variables to track user data.